Launch discount4.8

OPAQUE GREYS
WITH VOLUME

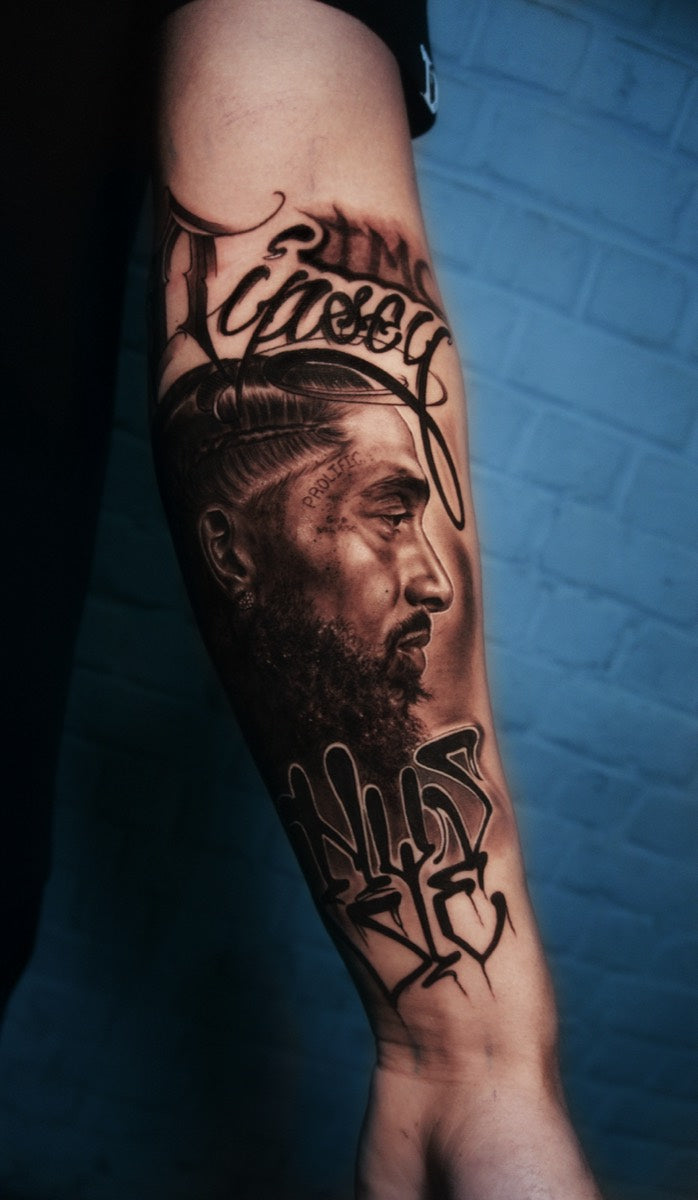
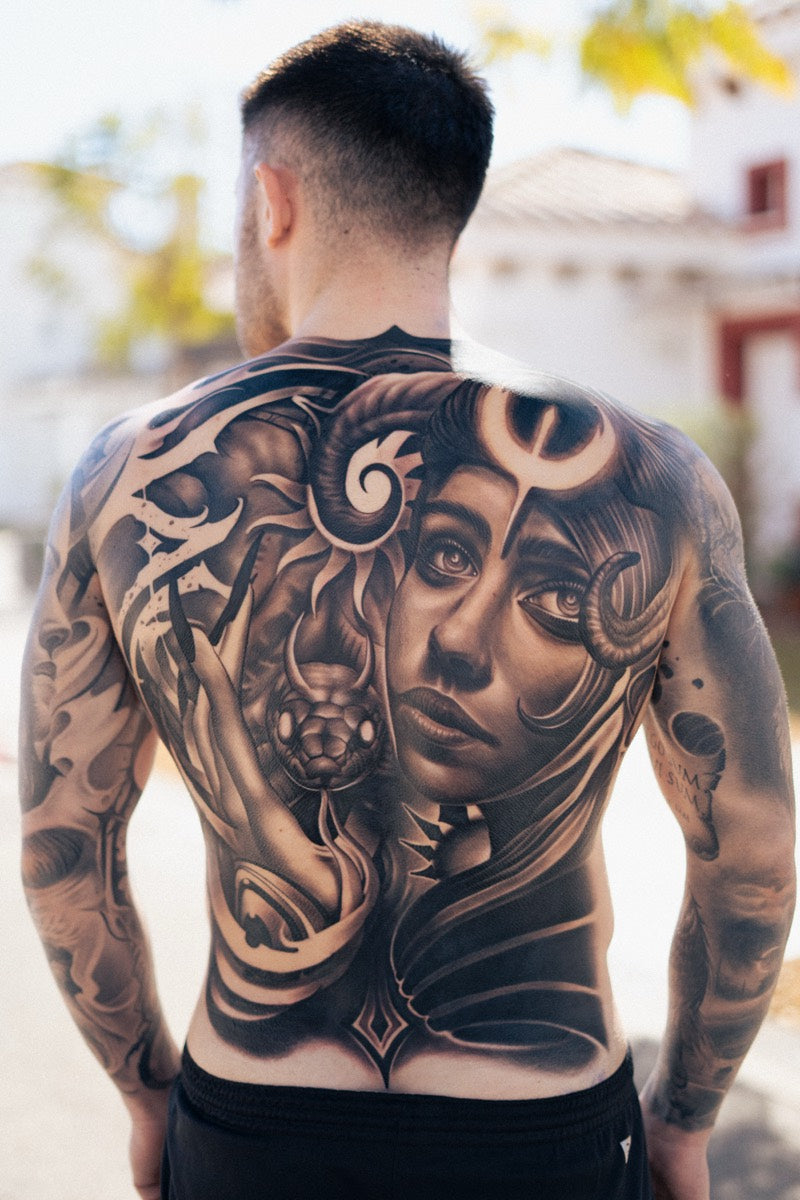
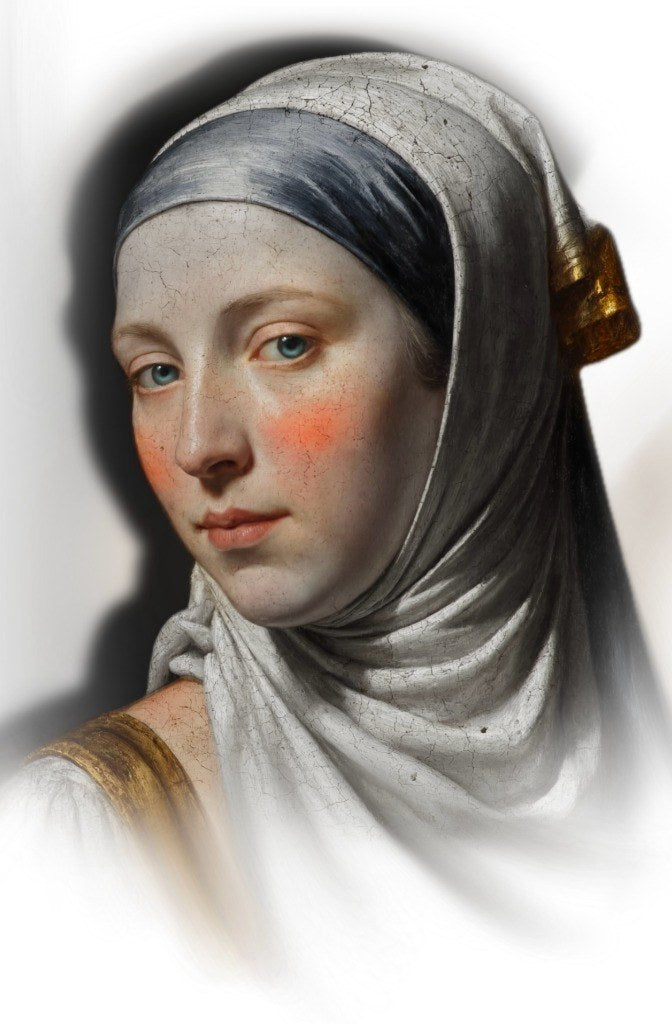
A piece that reads from several metres away, with its contrast and depth intact once the skin heals. Grey isn't the absence of colour, it's another value. With one set of greys, from pure black to off-white, you cover the whole skin to build a portrait with volume, with that polished-stone texture, layer by layer, from the darks to the highlights. Sit with Charly Ávila through a full session, skipping no part of the process. Every layer laid down with room to spare, never flooding the skin all at once, until the piece has the impact it deserves. It's not theory, it's the real process, explained as it happens.

143 US$239 US$One-time payment · VAT incl.
AudioSubtitles
Duration
10 h 52 min
Lessons
22
Access
Lifetime

30-day guarantee* · Comment system · Direct support · Downloads

From inside · What you'll see, step by step

  • Anatomical reading
  • Design study
  • Workspace & stencil
  • Opaque grey set
  • Black exoskeleton
  • Face greys
  • Light greys & highlights
  • Final result

Brands that trust Masterink

FK Irons
Radiant Colors
EZ Tattoo
Aloe Tattoo
LT
Fraktal
Before paying

Come in and watch a real lesson FREE.

The same interface and the same syllabus you'll have inside. Check the quality of the lessons, the content and how easy the platform is to use, and watch a full lesson for free while you're at it.

Watch preview now

If any of these sound familiar

We solve the common problems.

The five problems Charly sees every day when someone starts out with opaque greys, and how they get solved in this session, in order.

  1. My greys heal dull and flat, with no contrast

    Grey isn't a shadow, it's a value with degrees of tone, and the skin is covered with all of them. Here you mix the set and learn the order of layers, from the darks to the highlights, so the contrast is still there once the piece heals.

    Solved inM1.6Greys setM2.2Start and base layers IM2.11Light greysFace

  2. I oversaturate the skin and halfway through I can't keep going

    The mistake is losing your room to spare, working the skin with space left to go back over an area without breaking it. You'll see why you start with the largest needle (less aggressive, more layers) and how to add saturation without stressing the skin or turning it into a wound that won't hold pigment.

    Solved inM1.5Work tableM2.2Start and base layers IM2.3Base layers II

  3. I look at the reference and only see detail, I don't know where to start

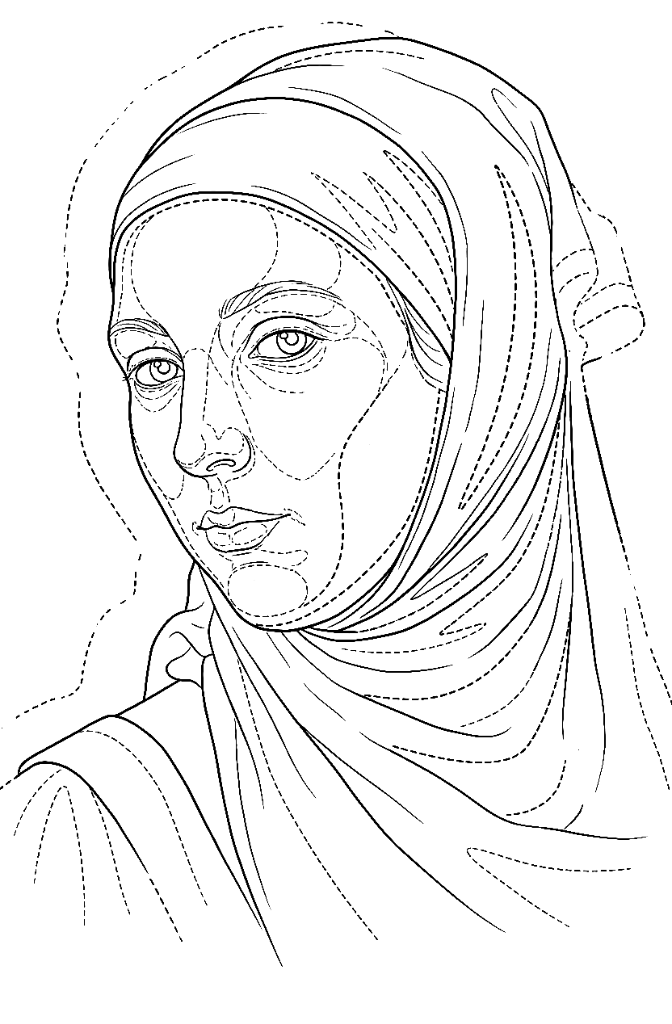
    Before the detail comes the exoskeleton, the silhouette of dark values that already tells you what you're looking at. You learn to read the image with your eyes half-closed and with a gradient map to break it into darks, mids and lights, and to build volume in layers, leaving the detail for the end.

    Solved inM1.3Studying the designM1.4Making the stencilM2.2Start and base layers I

  4. The piece doesn't read from a distance, everything competes and nothing stands out

    If everything competes, nothing matters. The impact lives in the hierarchy of planes: maximum detail and contrast in the eye-nose-mouth triangle, and deliberate blur in the hair, neck and background. That hierarchy is carried out by the scale of needles (magnum, shader and liner per plane), you don't do it by hand.

    Solved inM1.2Anatomical analysisM2.6Greys IIFaceM3.1Final result

  5. When I go over an area with another tone, it gets dirty and the colour shifts

    The tone with more pigment always wins out over the diluted one. If you don't want the base to shift, whatever you lay on top goes more diluted; whites and highlights are saved for the end, with the skin in good shape, because they get muddy fast. You'll also see petroleum jelly used as a barrier so you don't contaminate what's already done.

    Solved inM1.6Greys setM2.5Greys IBackgroundM2.11Light greysFace

Why this is not just another course

You watch the real session. Not an edit without mistakes.

Built up in layers, not copied dot by dot

Charly doesn't trace the image onto the skin. He raises the exoskeleton with pure black and dark tones, then adds layers leaving room to spare, working from the darks to the highlights. You watch the piece move from silhouette to portrait without the detail coming in too soon. With the exoskeleton alone you already have between 40 and 60% of the piece.

Grey as a value, not as a shadow

The opaque grey palette, pre-mixed in caps (pure black, shadows at 10% and 50%, dark, mid, light, extra light and the two whites), covers the whole skin with real value, not with diluted black. You learn to shift from one tone to the next using drops and Special Shading Solution without dirtying the transition, and why the tone with more pigment always wins out over the diluted one.

Room to spare is what saves the piece

Working with space left to go back over an area without breaking the skin. You start with the largest round magnum (less aggressive, more layers) and add saturation without stressing the skin or turning it into a wound that won't hold pigment. Small needles and detail are saved for the end.

The same process as with a client, nothing skipped

More than ten hours of a real session narrated as it happens. Same technique, same needle sizes and same inks he actually uses. Why the round magnum goes in first and the liner closes it out, where he blurs on purpose and why the eye-nose-mouth triangle carries the likeness. If you get stuck on a lesson, you comment under the video and Charly and the team answer personally. It isn't an AI.

How the piece is built

Six phases. A full session in real time.

What you'll see, in the order it happens. No loose clips without context. The whole piece from start to finish.

  1. 01

    Anatomical analysis and design

    Reading the area to be tattooed: lights, shadows and volume.

  2. 02

    Clean stencil and value map

    A clean stencil and a gradient map to break tones into sectors.

  3. 03

    Exoskeleton in blacks

    Silhouette and general volumes with pure black.

  4. 04

    Base layers with room to spare

    Round magnum from larger to smaller, applying margins.

  5. 05

    Greys and the focal triangle

    Shader: marks and effects. Focus on eye-nose-mouth.

  6. 06

    Highlights, background and planes

    Whites applied at the end and a hierarchy of planes.

Full curriculum

4 modules · 22 lessons · 10 h 52 min

    • Viewing recommendations
    • Introduction1:10
    • Anatomical analysis12:08
    • Design study11:13
    • Making the transfer8:23
    • Workstation18:55
    • Greys set14:13
Tool included

Every tattoo's stencil, ready in a minute

This course comes with 6 months of access to the Stencil Generator: upload your reference and download a faithful stencil, value map included, ready to print and transfer.

Every tattoo you do starts with a stencil. That is why it is included: the slowest, most tedious part of every session, solved in under a minute.

Real engine

Generated with the realism engine. Untouched.

Stencil Generator

6 months of access

Valued at

216 $

Today, with your course

Included

It activates on its own with your purchase: 30 stencils a month and unlimited gradient maps, nothing extra to pay.

  • True to your reference

    The stencil does not move a single line or reshape a feature: same proportions, same face.

  • Detects tonal values

    The gradient map translates your reference into light, midtone and shadow zones you can read at a glance.

  • Built-in retouching

    Brush and eraser over the reference, with adjustable opacity, for the last 5% that is always yours.

  • In your browser

    Phone, tablet or computer. Nothing to install, no extra subscription.

0

months of access

0

stencils a month

0

extra fees

Your bonuses for joining today

Everything you get today:

Alongside a complete opaque-grey sculpture masterclass, you get three months of reviews with Charly, Q&A sessions, the Stencil Generator and material to practise. Everything you need to build volume and portraits with a method you can repeat on every skin.

Swipe to see everything included

216 $

Sculpture Opaque Greys masterclass

More than ten hours with Charly building a sculpture-style portrait from start to finish, skipping no part of the process. You'll see how grey is worked as a value and not as a shadow: the exoskeleton first, then the layers leaving room so the skin holds up, and the whites at the end. Every decision (anatomical reading, mixing the opaque greys set, needle sizes per plane, layers and highlights) explained at the exact moment it happens, so you internalise it and come back to it with every client in this style.
324 $
Most valued

3 months of reviews with Charly

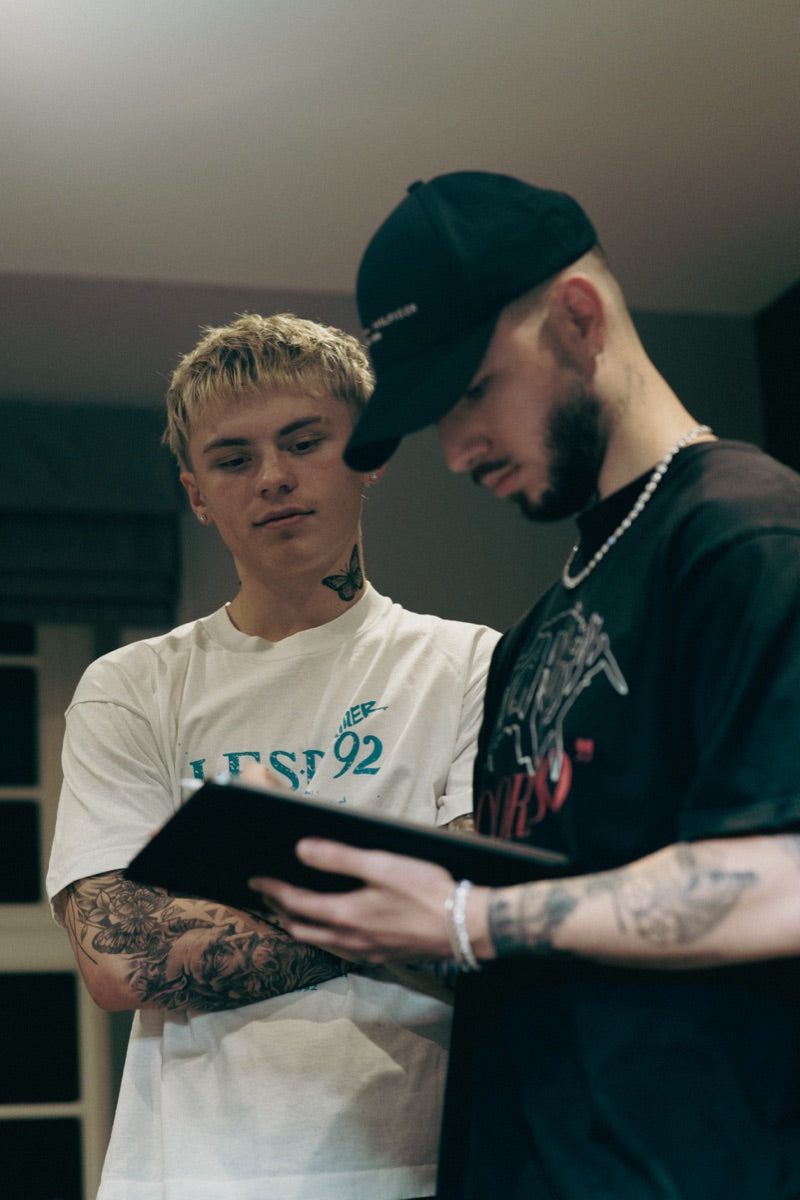
Each month you can send Charly a photo of a tattoo or a practice piece. He analyses it privately and gives you an answer: what to change, what to refine, where to take it next. Direct feedback. Three months with his eye on your work.

119 $

Charly Responde · Sessions every 1-2 months

Send in doubts or questions about technique, clients, business, anything at all, and every 1-2 months we'll record a session working through them. You'll also get access to the past ones.

49 $

Pack of 100 images to practise with

A pack of 100 sculpture images and references for your designs and practice in opaque greys. To train your reading of volumes, planes and lights without ever running out of material to practise the style with.

31 $

Masterink certificate on completing the masterclass

When you finish the training, we'll instantly generate a digital certificate issued by Masterink with a unique ID. If you're in the European Union you have the option to request a physical copy for an extra.

216 $

Stencil Generator · 6 months of access

Upload your reference and download a faithful stencil with its value map, ready to print and transfer. 30 stencils per month for the next 6 months, in your browser and with nothing extra to pay.

What you get today

Value

0 $
You take 812 $ of extra value
You pay today143 US$

One-time payment · VAT included · Lifetime access

Course + 5 bonuses unlocked today · One-time payment · no subscriptions · lifetime access · Direct support from Charly and his team

Platform

Your learning platform includes

Not just videos. A platform built so you learn without getting lost.

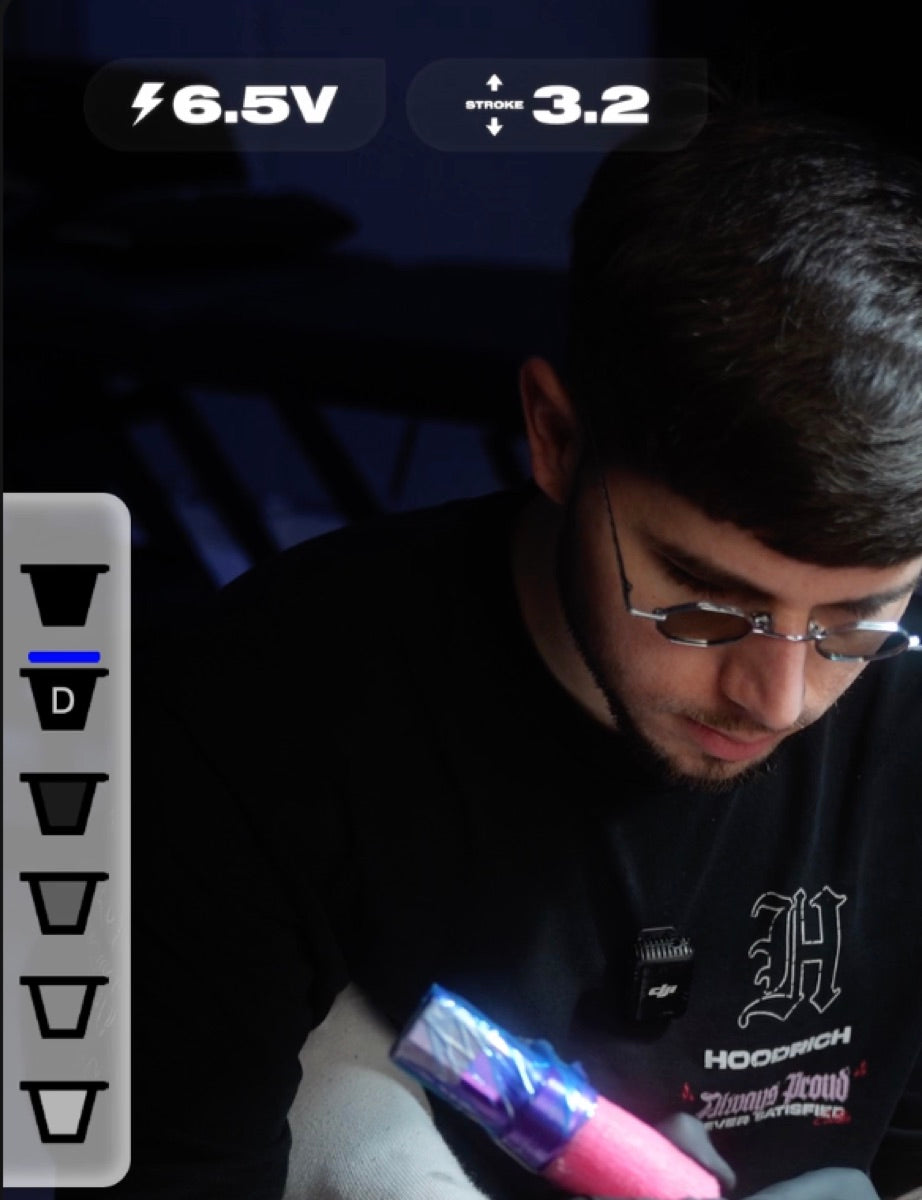
On-screen Tattoo HUD

As he tattoos and talks you through it, you see on screen the voltage, the ink and the exact settings he's using at each moment. So you don't miss a single detail.

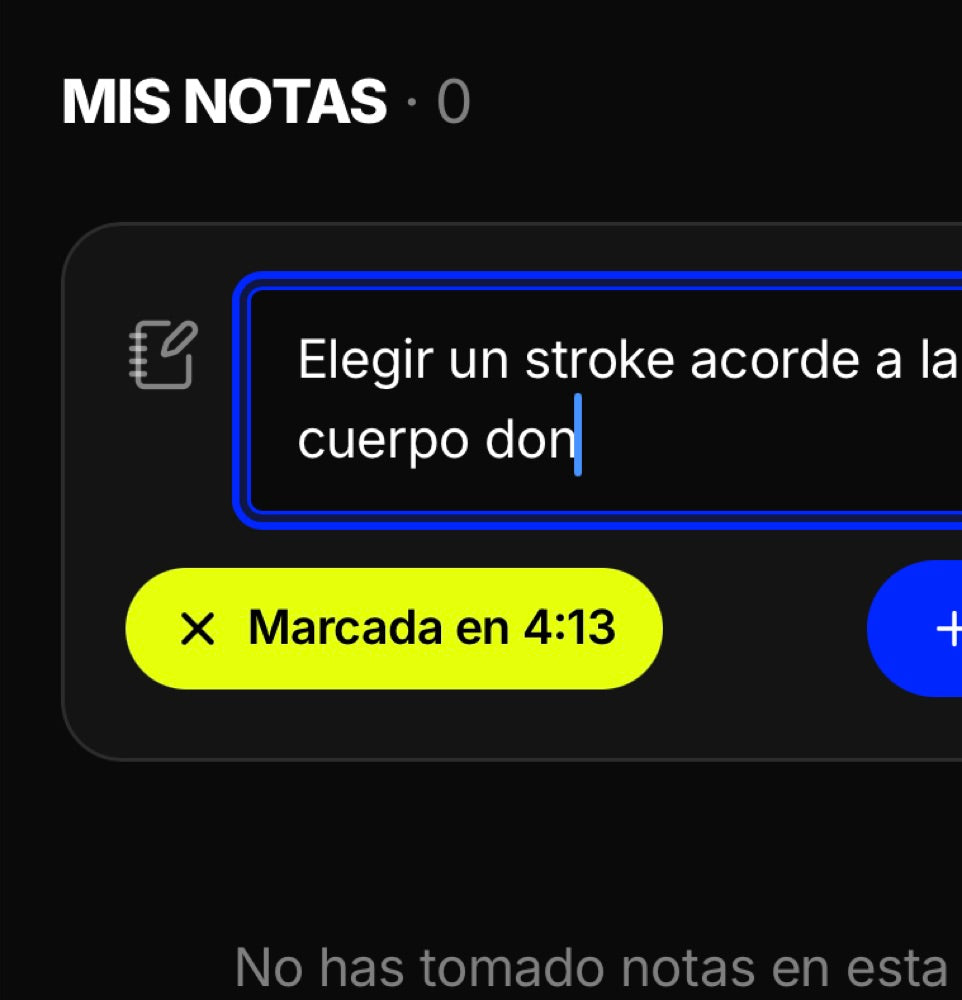
Notes pinned by lesson

You take notes inside the video. Each note stays pinned to the exact minute and you always come back to it from your account.

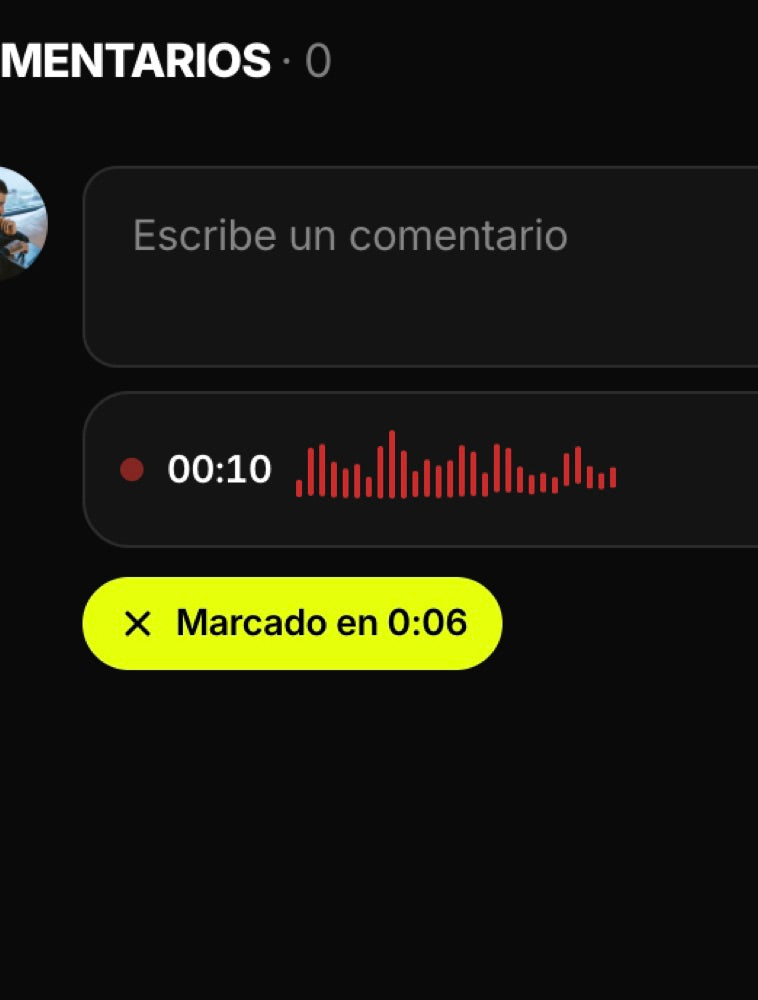
Charly and his team answer you in every lesson

You ask under the video, like on YouTube. A direct answer from Charly or the team by text or audio. It's not a bot.

Downloadable material to your account

Sheets, stencils, references and PDFs from the training in one click. Take them away to work offline or print them.

Downloadable resources

Beyond the video, you also get this.

Everything that shows up in the session, packed into downloadable files so you can replicate the process in your studio.

  • Digital stencil

    Ready to print at real scale.

  • Reference photos

    The original image and its variants in high resolution.

  • Detailed materials

    Everything used in the session, listed and available.

  • Result photos

    The finished piece, healed and unfiltered.

Charly Ávila

Who's teaching

Charly Ávila

Pro tattoo artist. Realism specialist.

  • +30
    Awards and conventions
  • Realism
    Speciality

Charly has tattooed

Rels BLenny TavárezBlessdOvy on the DrumsMoraOtamendiCeci ArmyMoise KeanCamínReinier

Join them

Will you be next?

Hundreds of tattoo artists are already applying our methods to grow their careers.

Before you join

Who it's for. And who it's not.

This is for you if…

  • You already tattoo with some grounding (line, shading and gradients) and you want to make the jump to realism in opaque greys.
  • You work in colour or diluted blacks and you want to understand grey as a value to build real volume, with the piece landing from a distance.
  • Your portraits heal dull or flat and you want to see the order of layers and how to manage your margin in a real session, no shortcuts.
  • You're starting to get a handle on tattooing techniques and you want to move your career forward down the realism path.

Not for you if…

  • You've never touched a machine. Start with the beginner seminar first.
  • Realism isn't the path you want to work on right now.
  • You expect to tattoo perfectly the moment you finish. This is a method: you internalise it by practising and going back to the lessons every time you forget a detail.

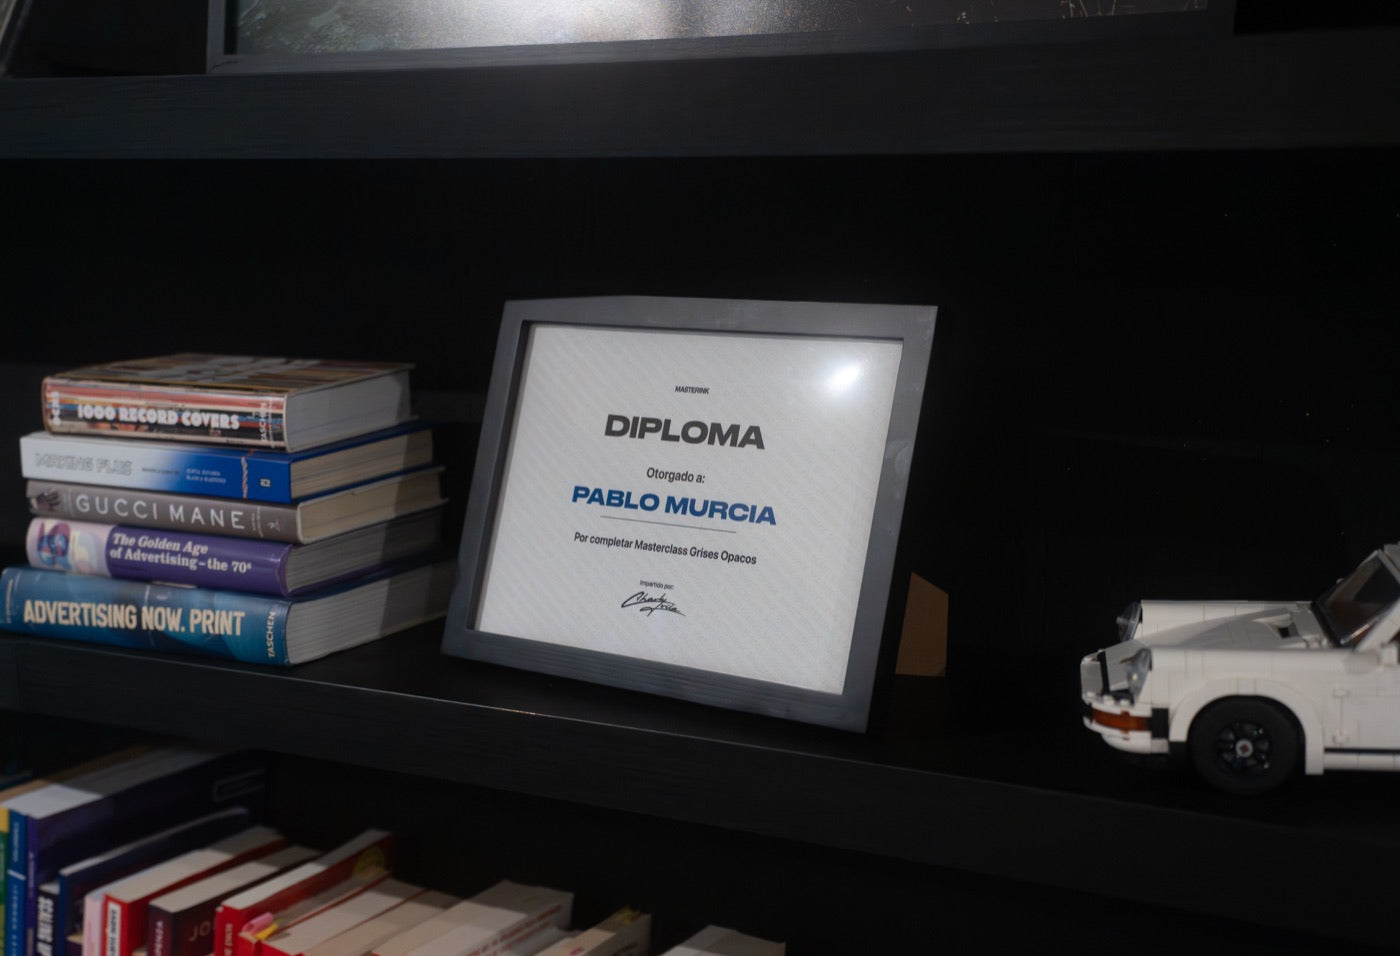
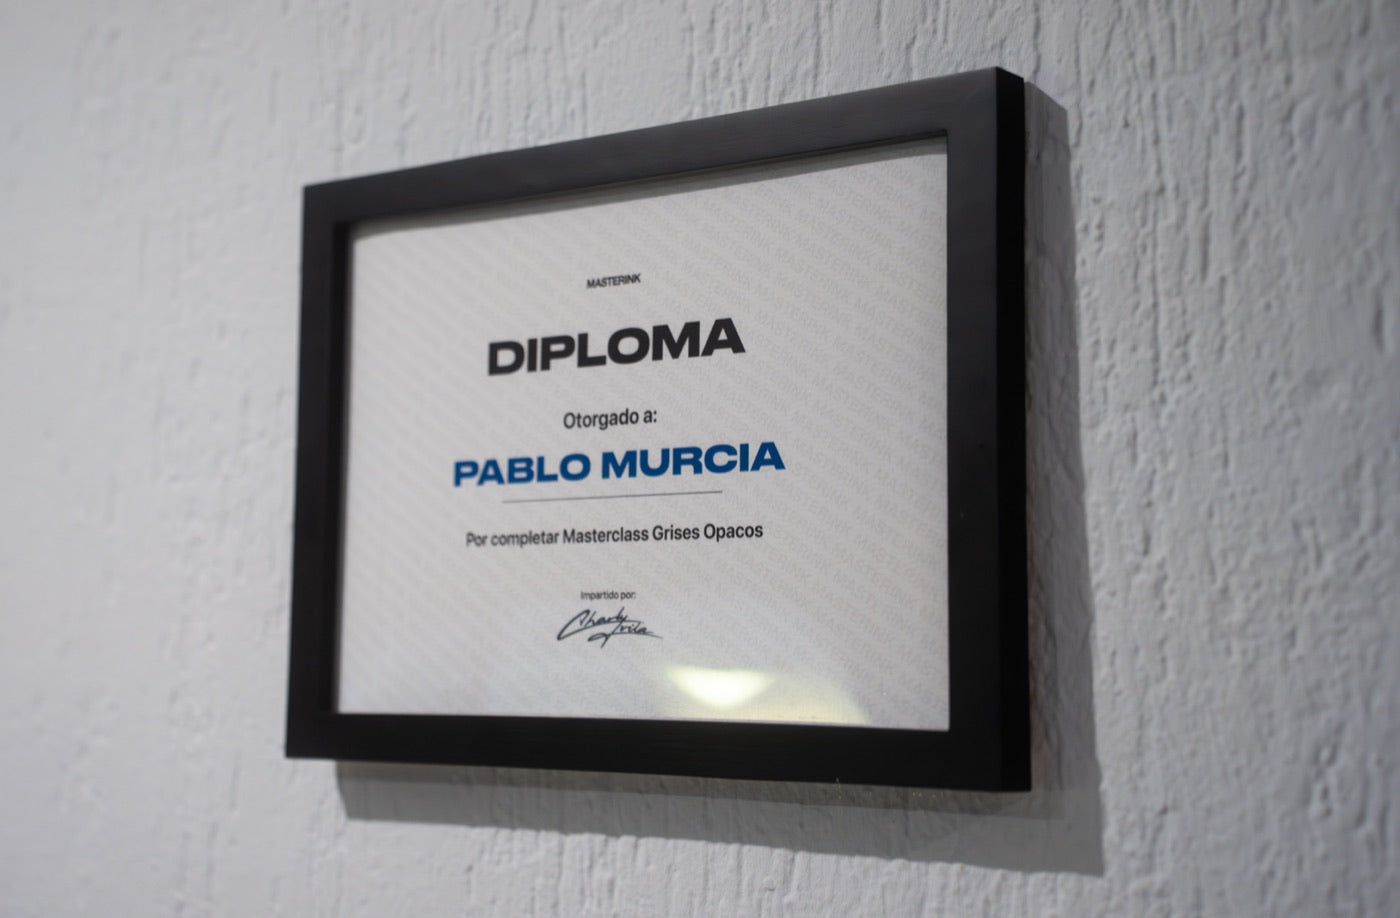
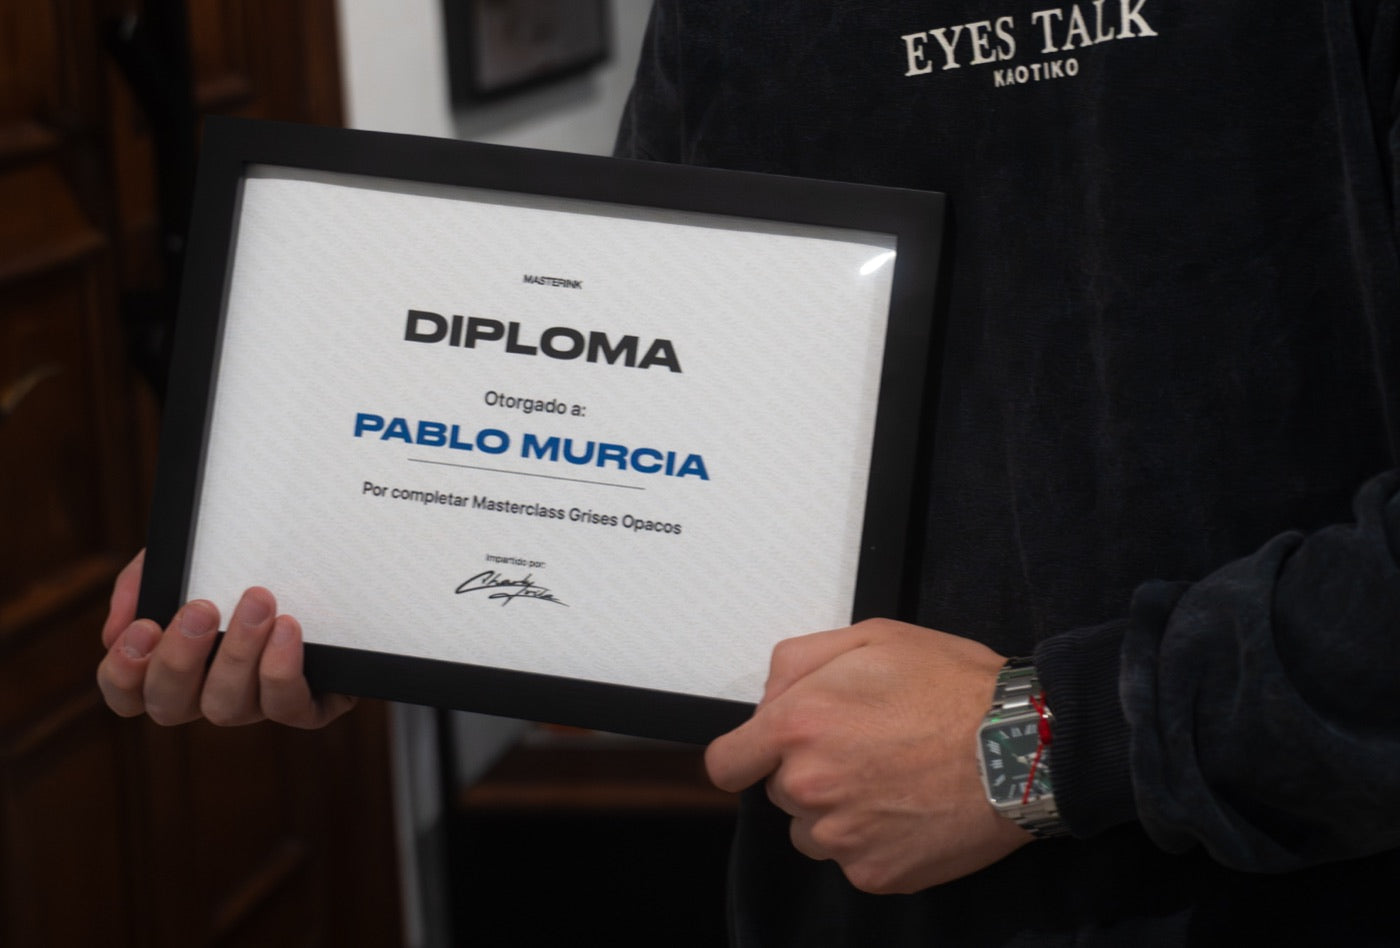
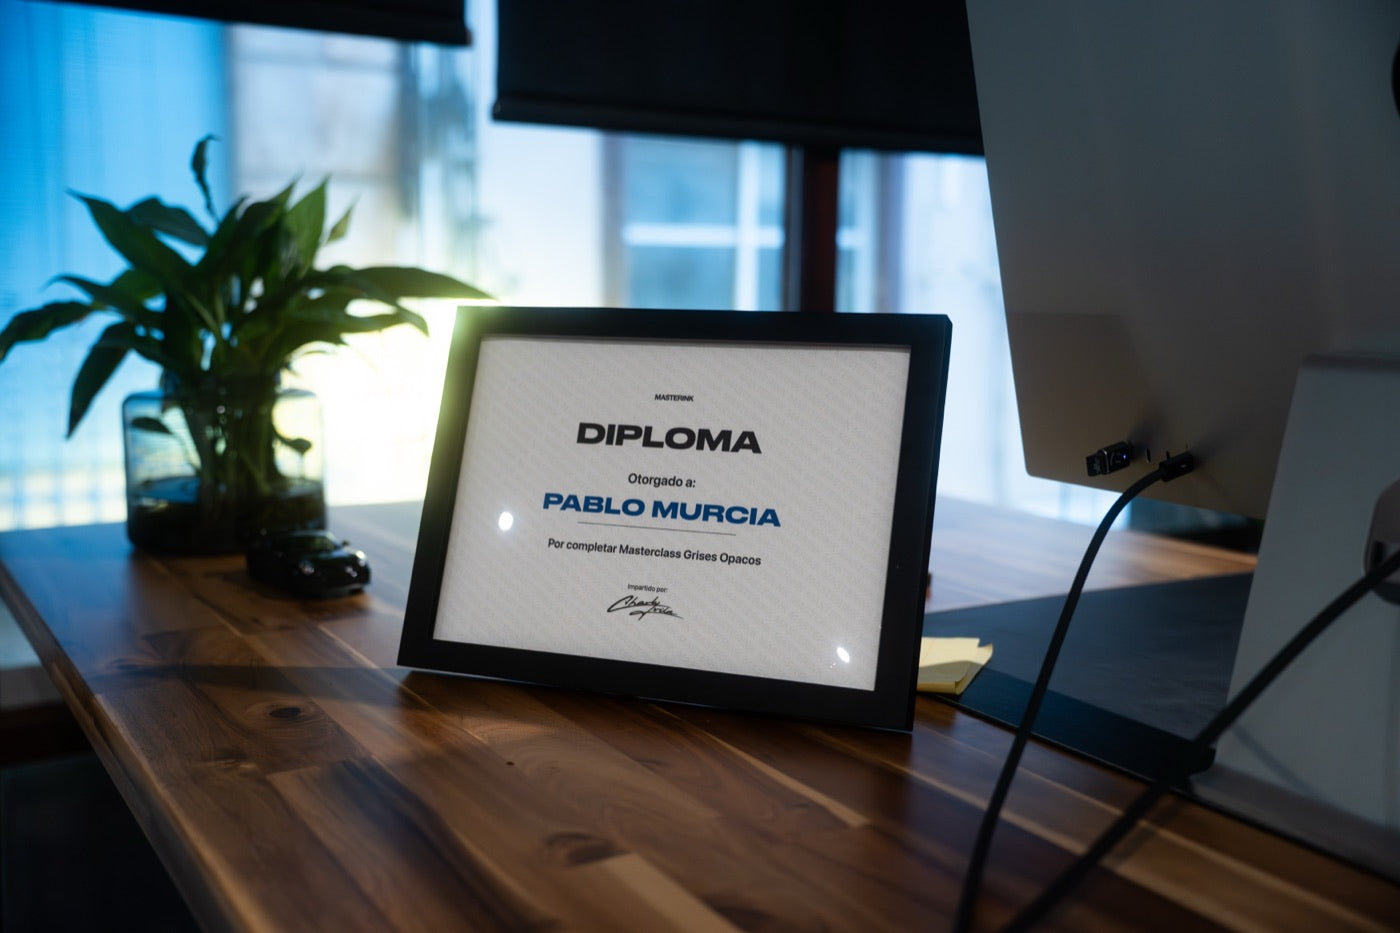
Diploma on completion

Finish the course and this is yours. Try typing your name.

When you complete 100% you unlock your digital diploma. Optional physical copy, available for now only in Europe.

Preview

  • Digital diploma when you complete the course.
  • Printed and framed physical copy (optional).

Digital version

YOUR NAMEOpaque Greys Sculpture Masterclass

Physical copy · optional

Masterink physical diplomaShips to your door · EU

Offer

Your new technique

Every 100 students · price goes up

92%

Less than 8 spots left in this tier before the next price bump.

Opaque Greys Sculpture Masterclass

4.8 / 5

Courses

  • Sculpture Opaque Greys masterclass

Included bonuses

  • 3 months of reviews with Charly
  • Charly Responde · Sessions every 1-2 months
  • Pack of 100 images to practise with
  • Masterink certificate on completing the masterclass
  • Stencil Generator · 6 months of access
You pay today143 US$
955 $You take 812 $ of extra value

100% secure payment30-day guarantee*

  • Lifetime access · no renewals
  • One-time payment · VAT included
  • Subtitles in Spanish, English, Portuguese, Italian, French and German
  • Web and mobile platform · downloads included

Amazing. The filming method and explanations are perfect, really easy to follow for anyone who wants to improve and take their work up a level.

Jose Miguel SantilerVerified purchase

* Full refund within the first 30 days if you've watched less than 20% of the course content. Email team@masterink.art and we process the refund.

Common questions

What people ask before joining

For any level, as long as you have the minimum technique of line, shading and gradients (what you see in the beginner seminar). With that grounding, this session shows you how to build a sculpture-style portrait in opaque greys, with a method, from the exoskeleton to the highlights.