
Black & Grey realism · breakdown
It's not that you lack talent.
It's that nobody taught you the order.
You've been practicing portraits for piece after piece and they still come out flat, muddy or off. It's not your hand or some gift. Realism has an order, and once you follow it, the good results start showing up.
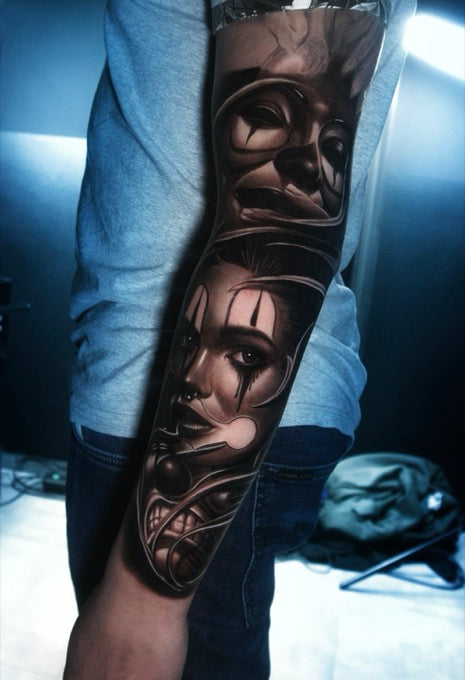
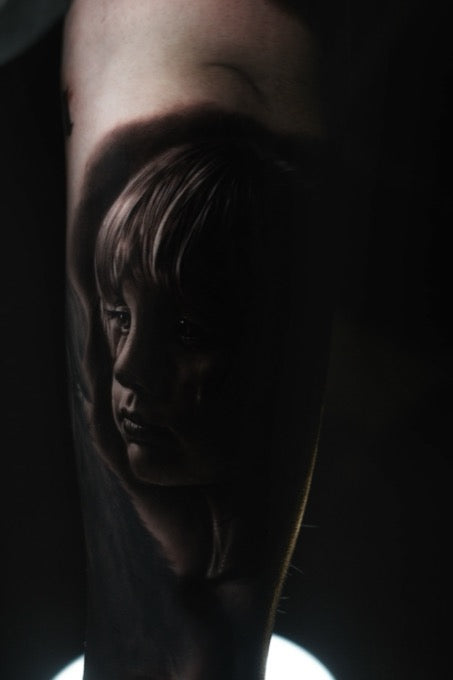
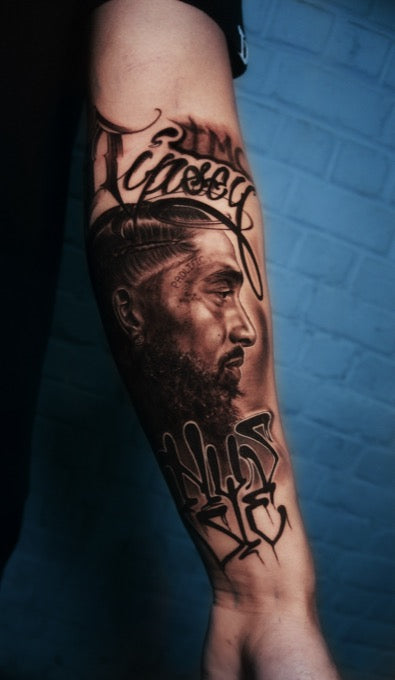
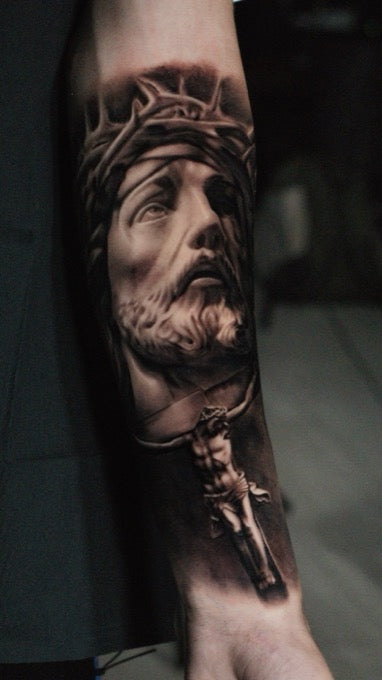
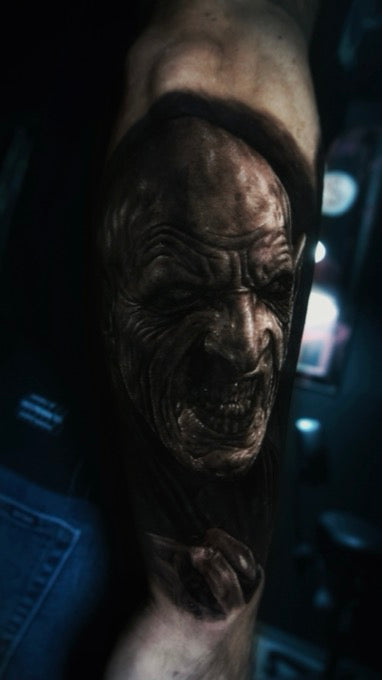
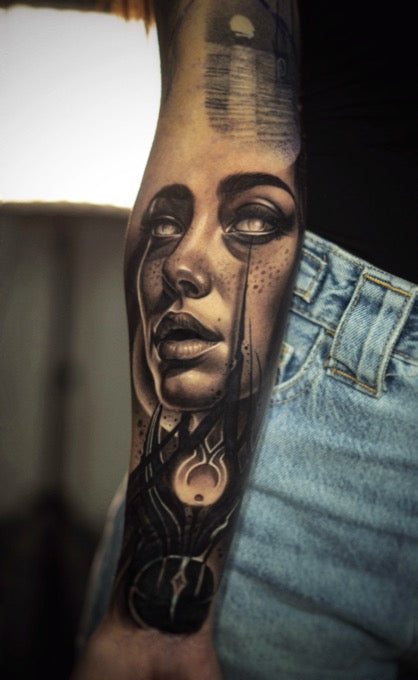
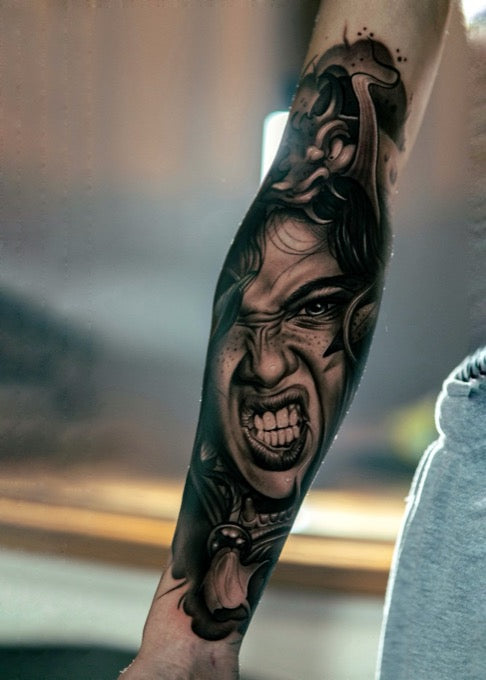
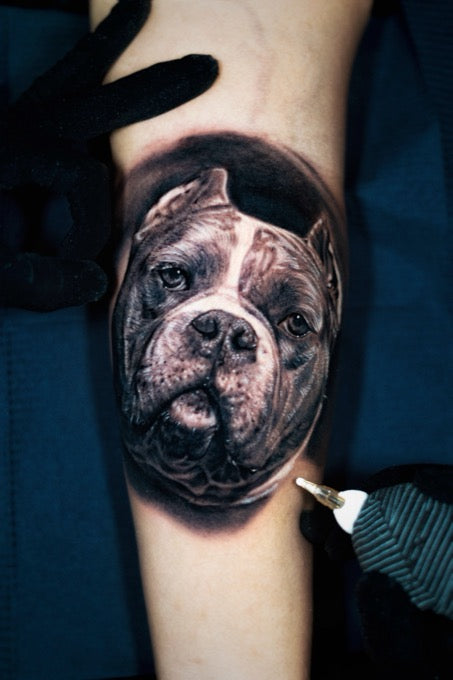
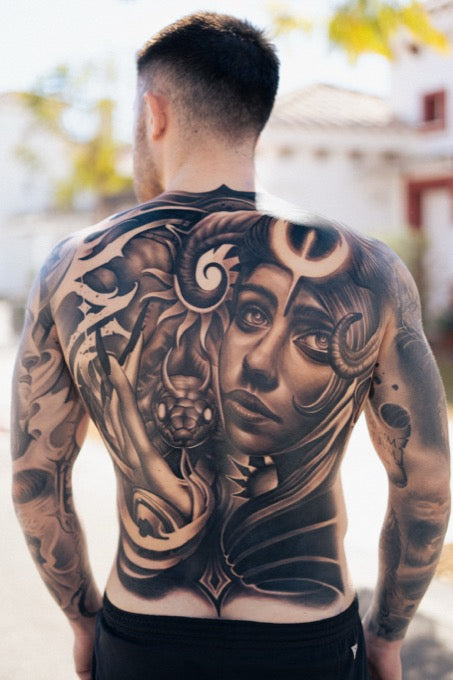
Real Black & Grey pieces by Charly Ávila. It's not inspiration: it's an order that repeats in every session.
You've lived it. You go from the reference to the skin, you run the machine and, two hours later, the face doesn't look like it. The shadows read like smudged blotches, the whites vanish or look fake, and the whole thing comes out flat, lifeless and with no depth.
And then the same old thought hits: "this is talent, and I don't have it." You close the reference, leave it for another day and go back to the pieces you already pull off. Realistic portraits stay on the list of things you'll do once you get better.
The problem is that line is a lie. And as long as you believe it, you'll keep losing clients who pay triple for a portrait the guy next door does know how to pull off.
The myth holding you back
Talent doesn't exist. Order does.
Realism doesn't fall apart for lack of a gift. It falls apart because it's done out of order: voltage by eye, dilution by eye, layers on top of layers without letting the skin breathe. Every decision gets made on the fly, and that's why the result changes from one session to the next.
The tattooer who does pull off clean portraits doesn't have a magic hand. What he has is a fixed order: he knows what to bring out first in the photo, what voltage and needle to use on each area, how many drops of dilution he uses and which layer each grey goes in. He does the same thing every time. That's why it comes out every time.
That's the real difference between the one who progresses and the one who's been stuck at the same level for years. It's not talent. It's knowing the order, and repeating it.
The order, step by step
Watch the full Black & Grey portrait method
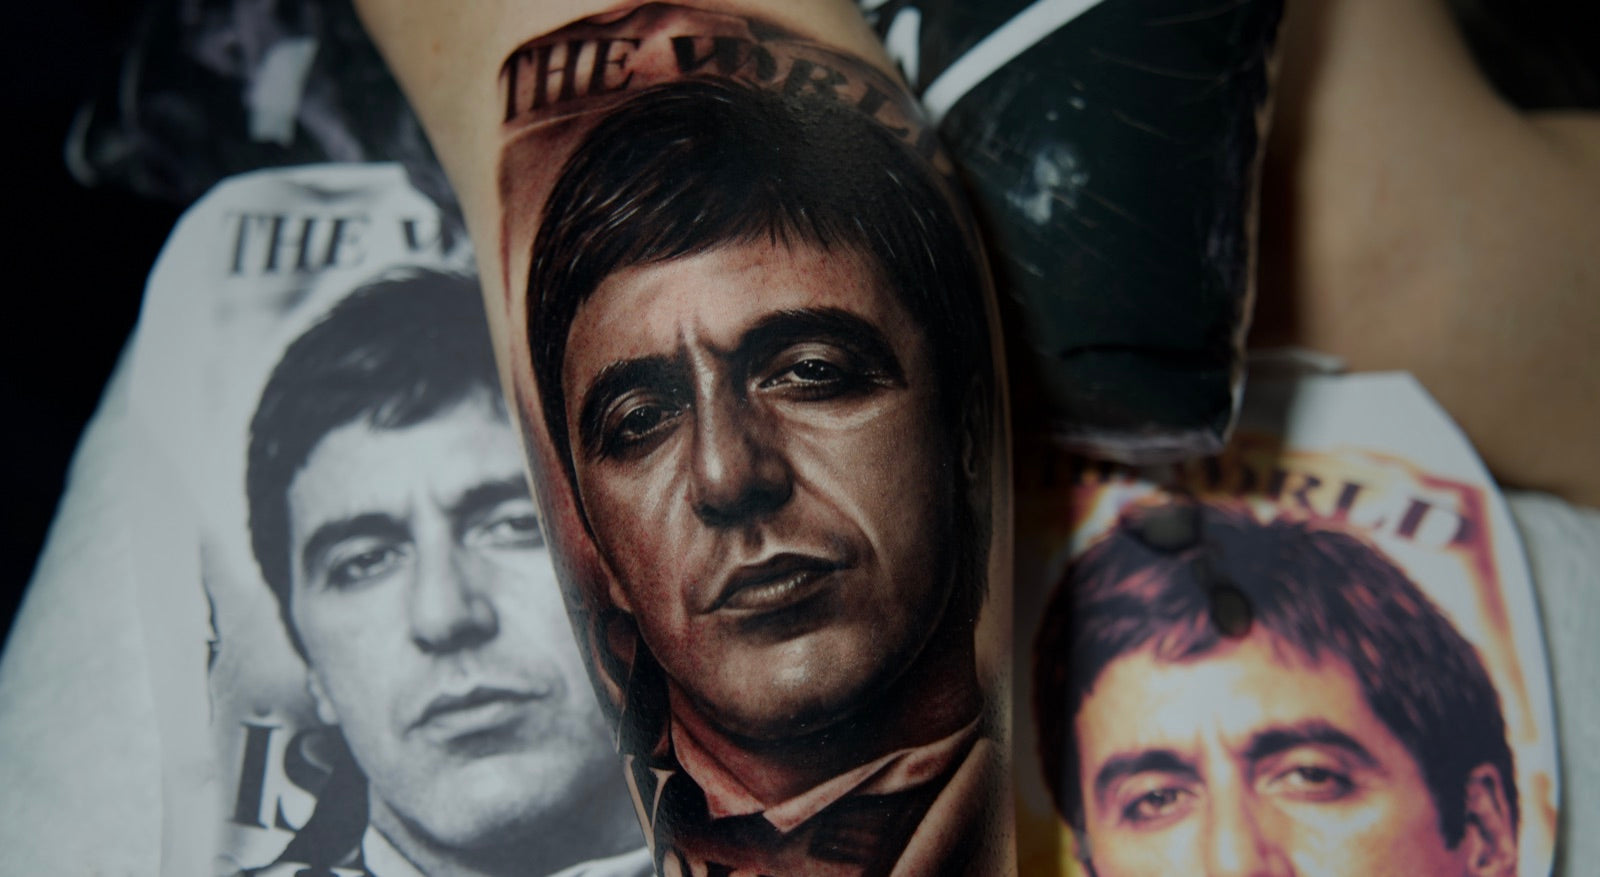
The diagnosis
Why your shadows come out muddy
When a portrait comes out flat it's almost always the same root mistake: you go into the skin without having read the photo. Without knowing where the light is, where the real black is and where the mid grey is, the machine decides for you, and it decides wrong.
From there everything piles up. Voltage that's too high blows out the grey and leaves it as a blotch. Dilution by eye makes it come out transparent one day and opaque the next. And stacking layers without letting it heal blends tones that were supposed to stay separate. The result is that dark smudge you already know.
Realism doesn't get better by logging hours for the sake of it. It gets fixed with the right order.
The good news: since it's an order and not a gift, it can be learned. And you learn it by watching it done, step by step, on real skin, not by reading it in a PDF.
The order of realism
The 5 decisions that change the result
This is what the method puts in order. They're not loose tricks: it's the sequence that turns a portrait into something repeatable.
- 01
Read the photo before touching the skin
Before you pick up the machine, the portrait is already decided. Where the light is, which is the deepest black, which areas are mid grey and which stay as bare skin. If you don't make this map first, you improvise the whole session and it shows.
First you look, then you tattoo.
- 02
The voltage and needle for each area
You don't go into a background black the same way you go into a soft cheek transition. Each area calls for a specific voltage and needle setup. When this is fixed and not by eye, the grey stops blowing out and the transitions stop breaking up.
Each area, its own entry.
- 03
Dilute by drops, not by eye
The difference between a grey that ages clean and one that fades over the years is in the dilution. By drops, counted, repeatable. That way you get the same grey scale in every session and you don't depend on how the mix turns out that day.
What you count, you repeat.
- 04
Build depth in layers
The volume of a face doesn't come from a single pass. It comes from layers that respect timing: letting the skin breathe, letting it heal where it should, going back in in the right order. Skipping that time is what blends the tones and flattens the portrait.
Layers in their own time, not all at once.
- 05
Chain it all in a single session
The last step isn't a new trick: it's seeing the full order working from start to finish, with no cuts, on real skin. That's where it all fits together and where you understand why each decision comes before the next.
The method is the sequence, not the loose pieces.
The full order, on video
Watch how it all chains together on real skin
It's not theory
The order hundreds of tattooers already follow
- 4.7 / 5
- Average rating
- +250
- Verified reviews
- +20
- Countries with students
The Black & Grey portrait training is part of an academy with more than 250 verified reviews and an average rating of 4.7 out of 5. Students tattooing today in Spain, Mexico, Argentina and the United States follow this same order at their station.
Who teaches it

Charly Ávila
Charly Ávila is the instructor of Masterink's Realistic Black & Grey Portrait masterclass. His realism work is what you see in the pieces above: real likeness, clean shadows and depth that holds up over the years.
In the masterclass he doesn't teach inspiration. He teaches the exact order he follows at his station, decision by decision, so you stop depending on it "turning out fine" and start pulling it off on purpose.
You're not missing talent. You're missing the order. And the order can be taught.
The next portrait
Your next portrait can actually look like it
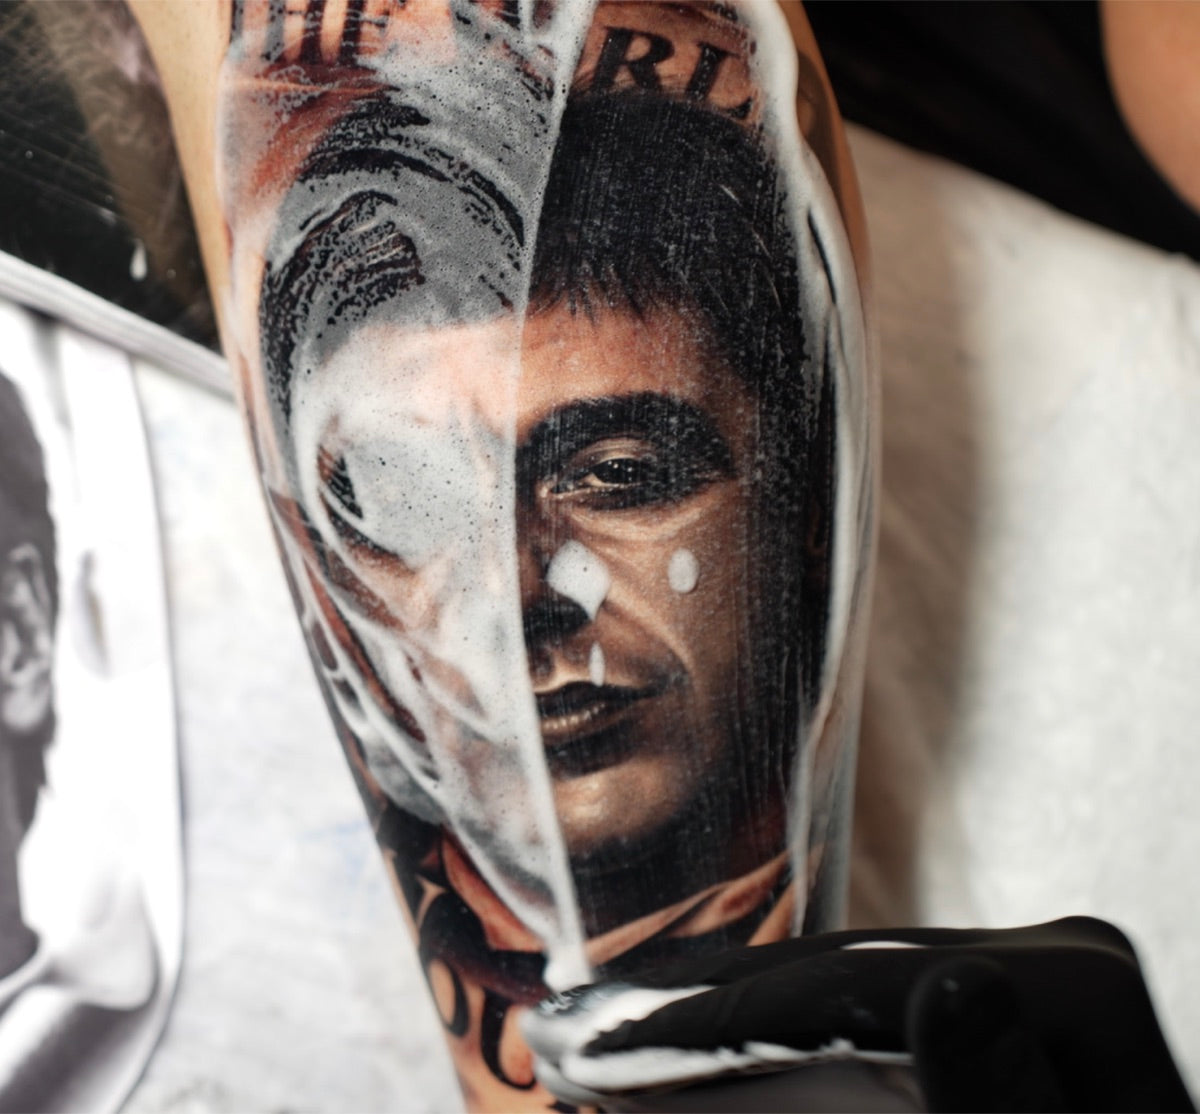
Inside the masterclass you have the full order: reading the photo, the voltage and needle per area, dilution by drops and building in layers. A real session, no cuts, with lifetime access so you can watch it again whenever you've got the reference in front of you.
Lifetime access. Diploma included. 30-day guarantee.