
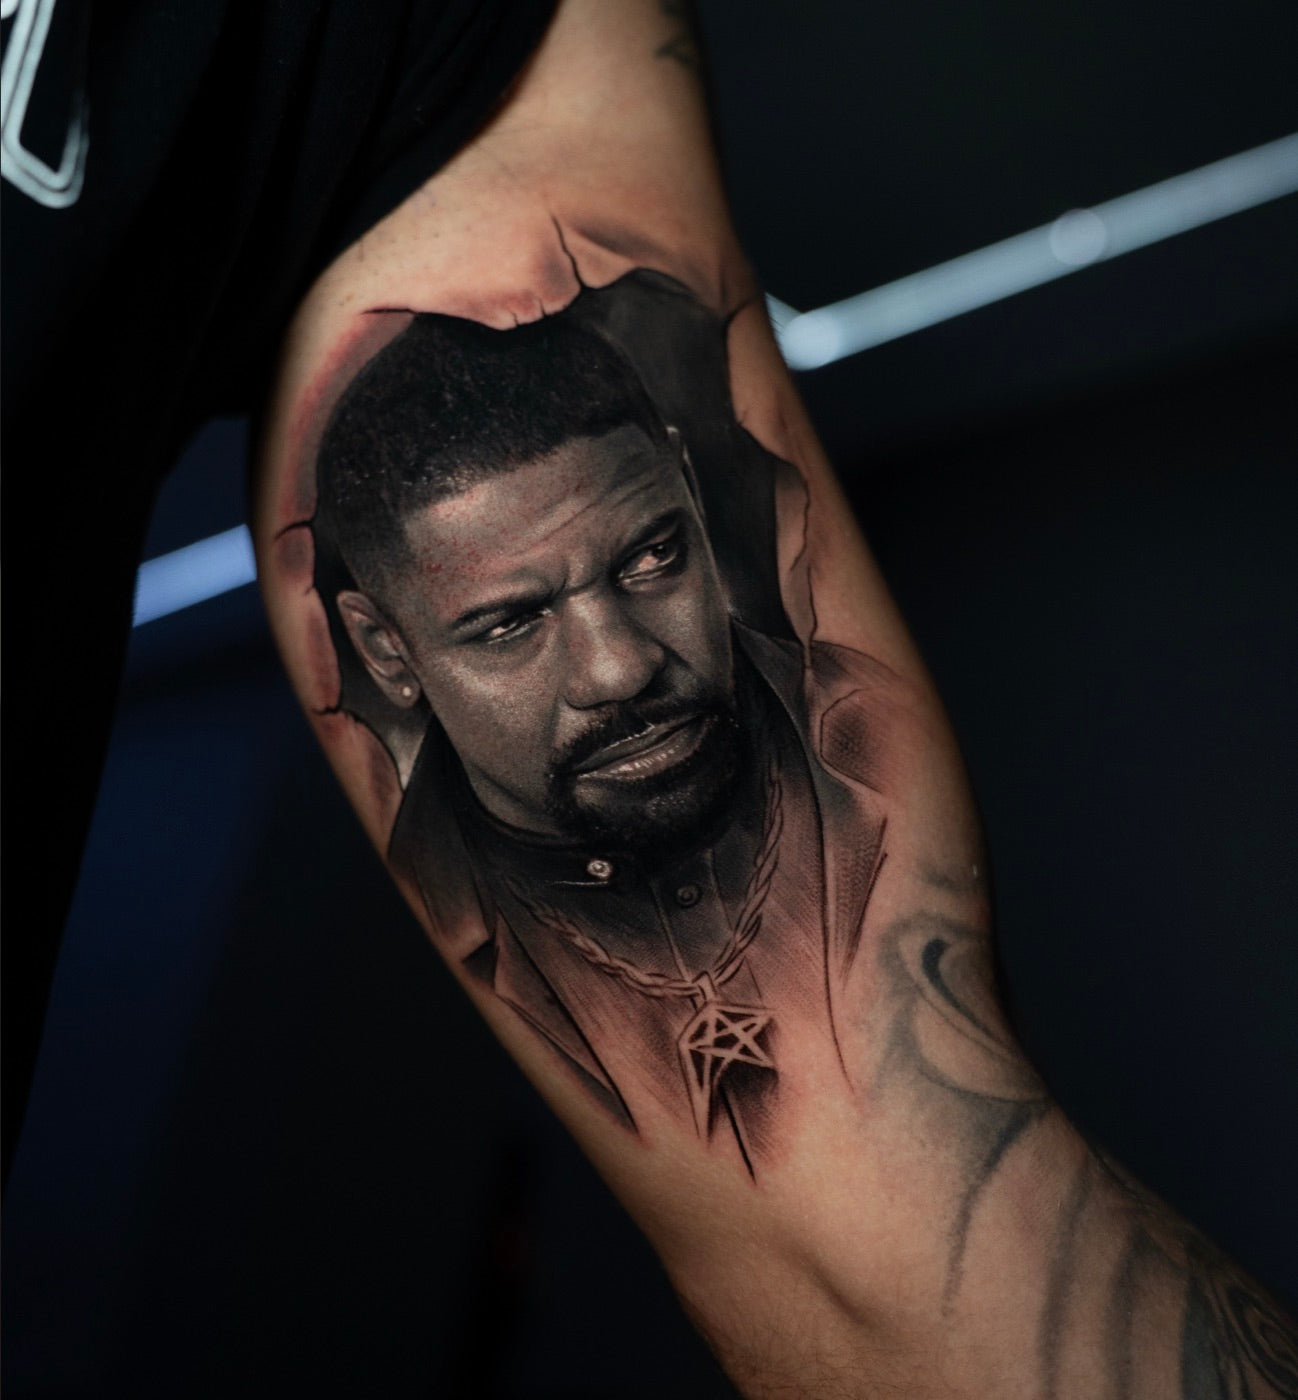


MICRO REALISM PORTRAIT
IN OPAQUE GREYS
Sit in with Charly through a full tattoo session, no cuts. Talking you through every step, every technique and every decision so you internalise the way he works. This isn’t theory for the sake of it, it’s the real process, explained as it happens.
- Duration
- 5 h 44 min
- Lessons
- 16
- Access
- Lifetime
30-day guarantee* · Downloads · Direct support
From inside · What you'll see, step by step
- How to approach the session

- Preparing the design

- The right inks and thinners

- Applying the stencil

- Building the base layers

- The right order of the layers

- How to apply the greys

- Final whites and highlights

- Final analysis and the healed tattoo

Brands that trust Masterink


Come in and watch a real lesson FREE.
The same interface and the same syllabus you'll have inside. Check the quality of the lessons, the content and how easy the platform is to use, and watch a full lesson for free while you're at it.
If any of these sound familiar
We solve the common problems.
The five problems Charly sees every day in opaque-grey micro-realism portraits. How we solve them in this session, in order.
Once it heals, the portrait turns into a dark block
Opaque grey is density and layers, not more black. You learn to read the real saturation against the redness of the session, and to build the volume before you saturate.
My eyes come out flat and the likeness is lost
Eyes aren’t outlined, they’re built. The eye-nose-mouth triangle is where you capture the essence. That’s where the client looks, and where you look when you post it.
My greys turn yellow as they heal, especially on darker skin
Just the right percentage of brown in each grey tone. It heals towards the skin tone, not towards yellow. Same piece, months later: compact and clean.
My hair looks like doll-implant hair
The root of the hair is always darker than the tip. S-shaped waving, strategic turns, never straight. 100% straight hair doesn’t exist, not even on animals.
I put in the whites and they eat the realism alive
Whites go last. A base with mixer white (never pure) dipped in extra light. Fine detail at the end and extra light on top to blend the shadows. Overdo it and you lose the piece.
Why this is not just another course
You watch the real session. Not an edit without mistakes.
Real session, no cuts
You see the tattoo from the first line to the final highlight. No edit covers up mistakes.
Live commentary
Charly explains what he's doing and why, while doing it.
Same technique as with clients
The method and materials he uses on real clients.
Open questions in every lesson
You comment below the video. Charly and the team reply personally. No AI.
How the piece is built
Six phases. A full session in real time.
What you'll see, in the order it happens. No loose clips without context. The whole piece from start to finish.
- 01
Design and grey set
Reference, order, grey set and mixes.
- 02
Stencil and skin prep
We prep the stencil so the info reads clearly.
- 03
Table and inks
Machines, needles and tones ready to work in layers.
- 04
Structure and base layers
We lay out the first part of the session and the base of the piece.
- 05
Saturating in greys
Volume in grey layers, from darks to lights.
- 06
Whites and details
Highlights and the final detail. The touch that makes it look finished.
Full curriculum
4 modules · 16 lessons · 5 h 44 min
- Viewing recommendation
- Introduction2:27
- Design Explanation17:14
- Workstation and Inks33:51
- StencilPreview21:28
Downloadable resources
Beyond the video, you also get this.
Everything that shows up in the session, packed into downloadable files so you can replicate the process in your studio.
Digital stencil
Ready to print at real scale.
Reference photos
The original image and its variants in high resolution.
Detailed materials
Everything used in the session, listed and available.
Result photos
The finished piece, healed and unfiltered.

Who's teaching
Charly Ávila
Pro tattoo artist. Realism specialist.
- +30Awards and conventions
- RealismSpeciality

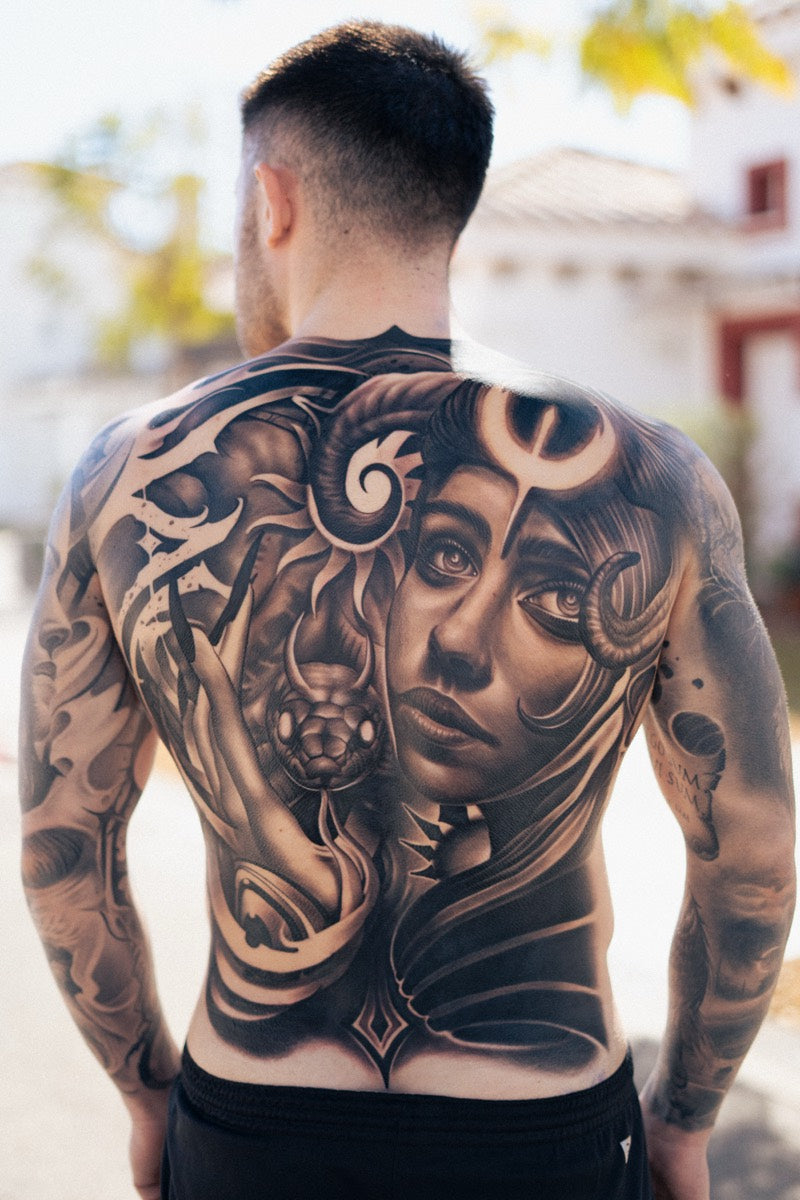
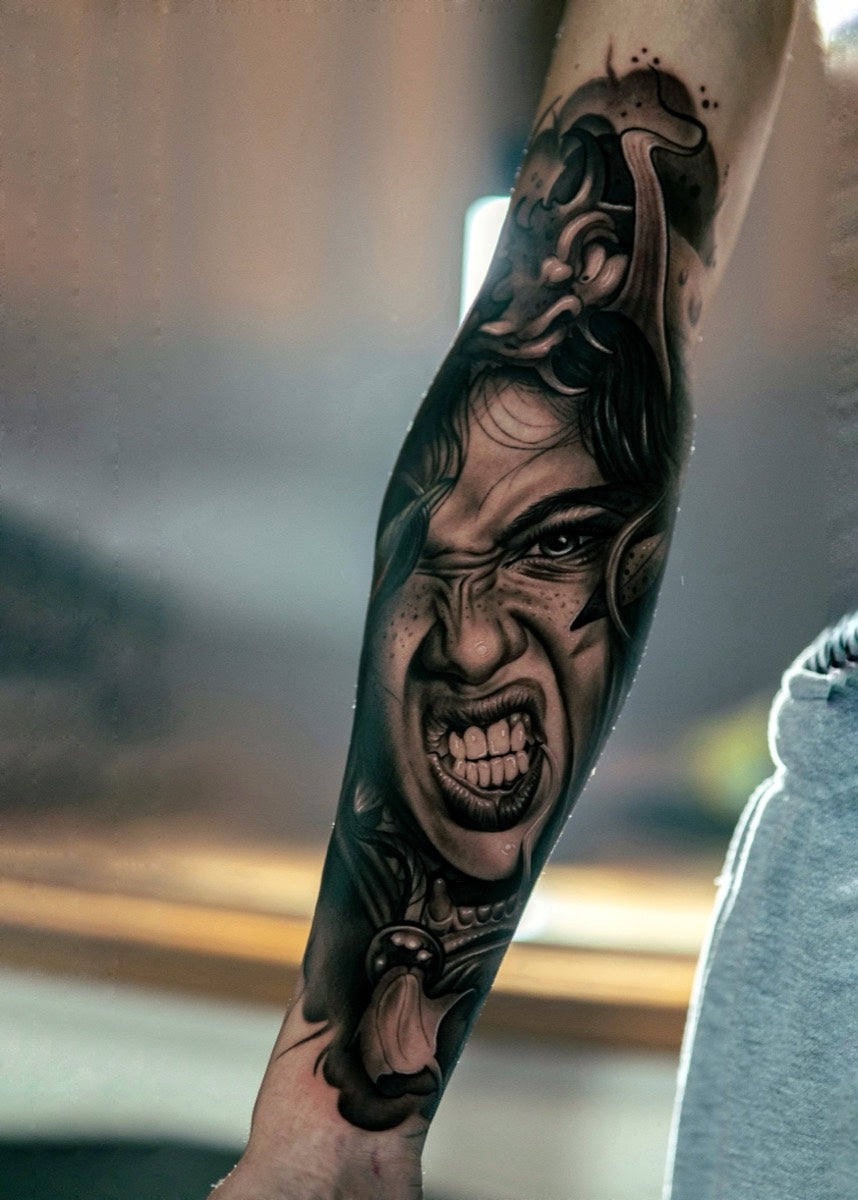
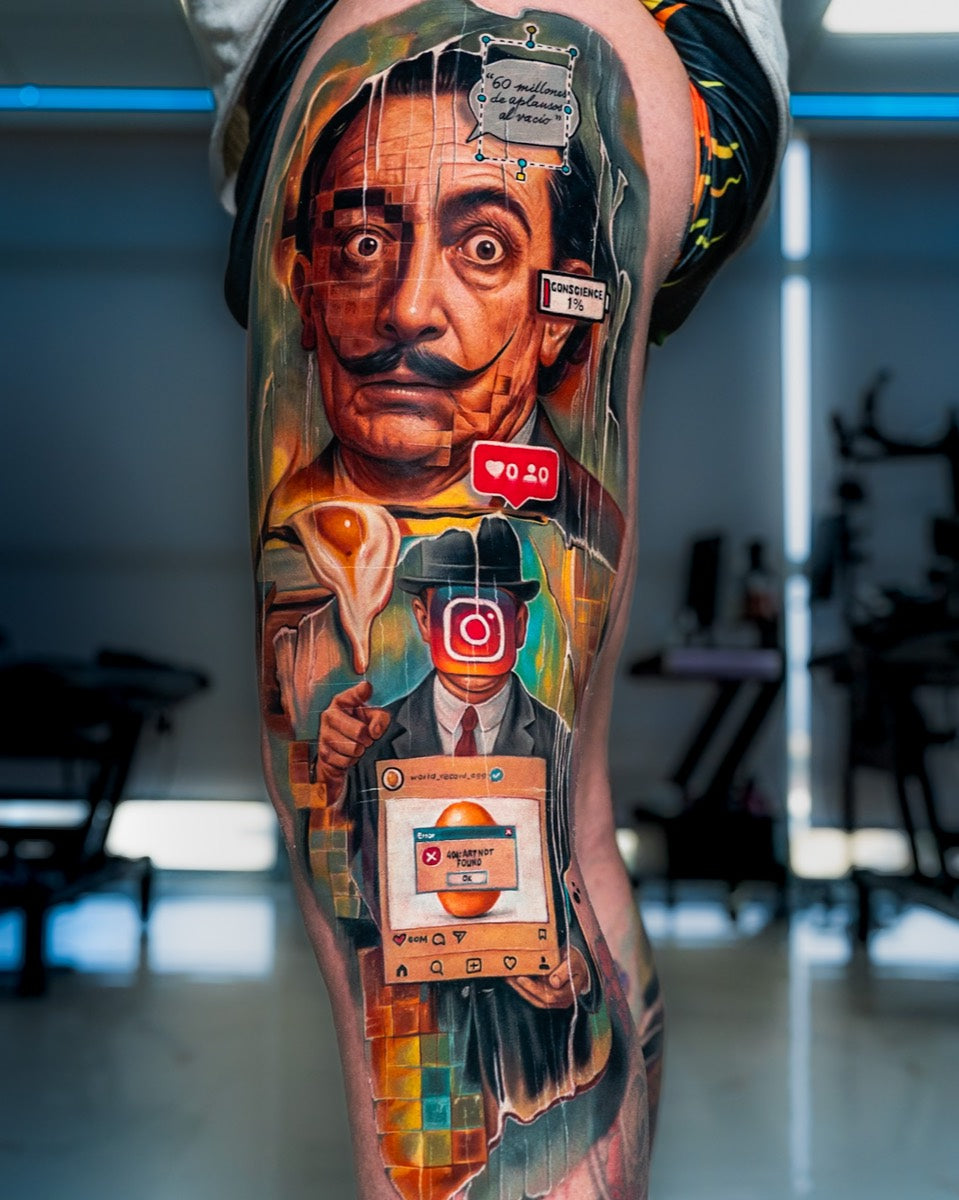
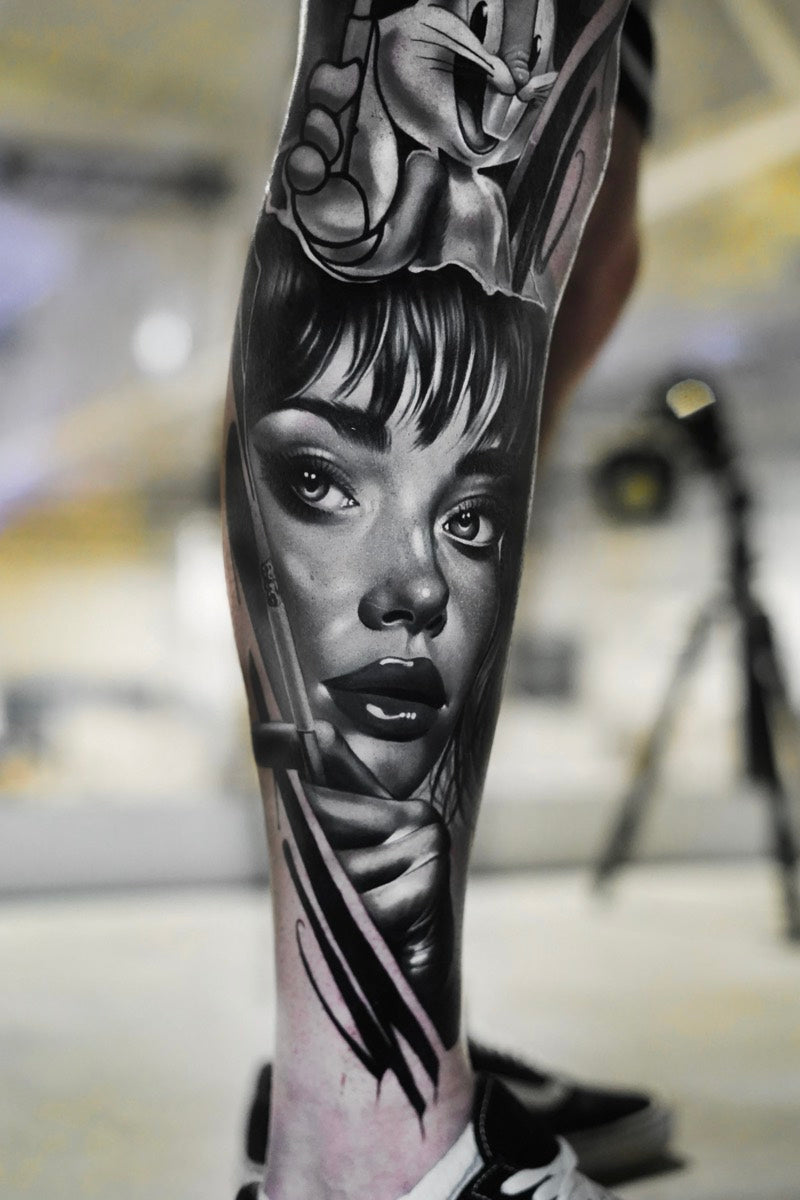
Who's teaching
Charly Ávila
Pro tattoo artist. Realism specialist.
- +30Awards and conventions
- RealismSpeciality
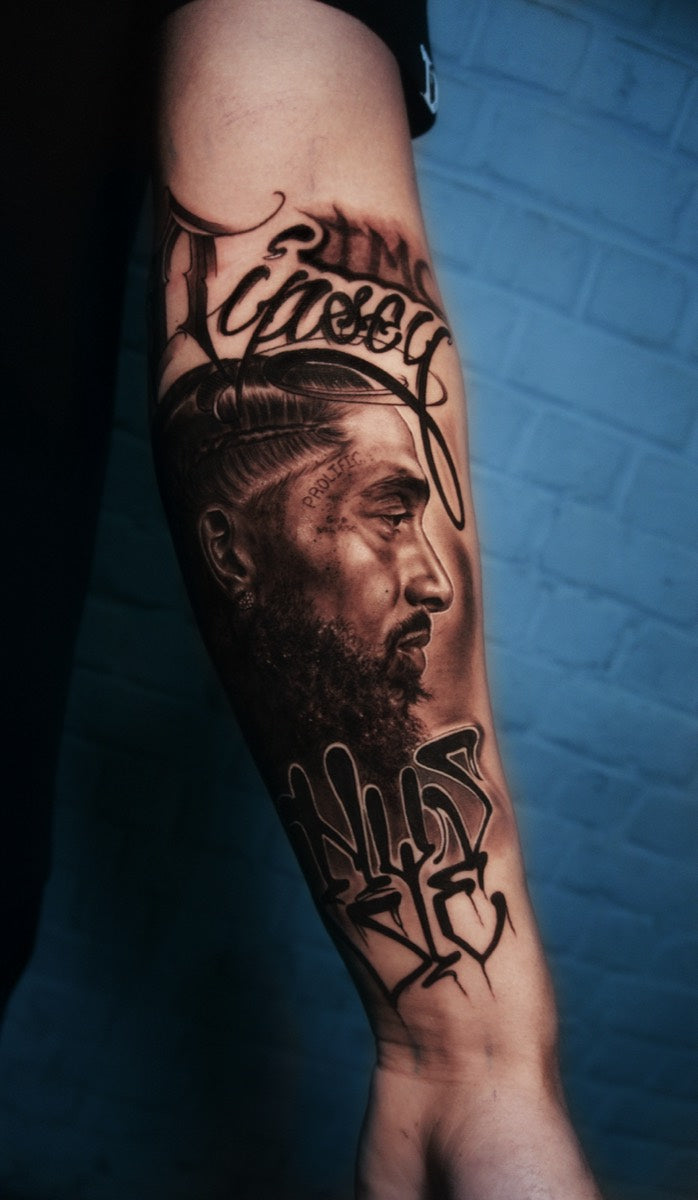
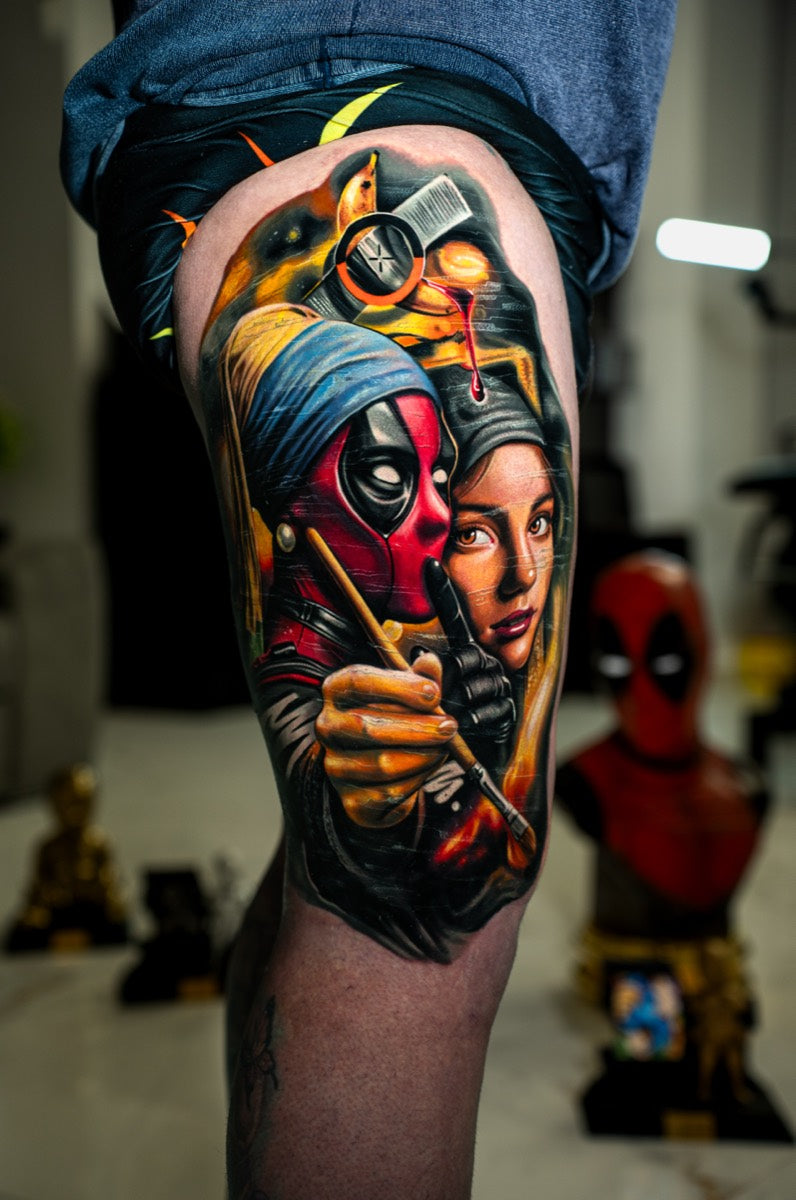
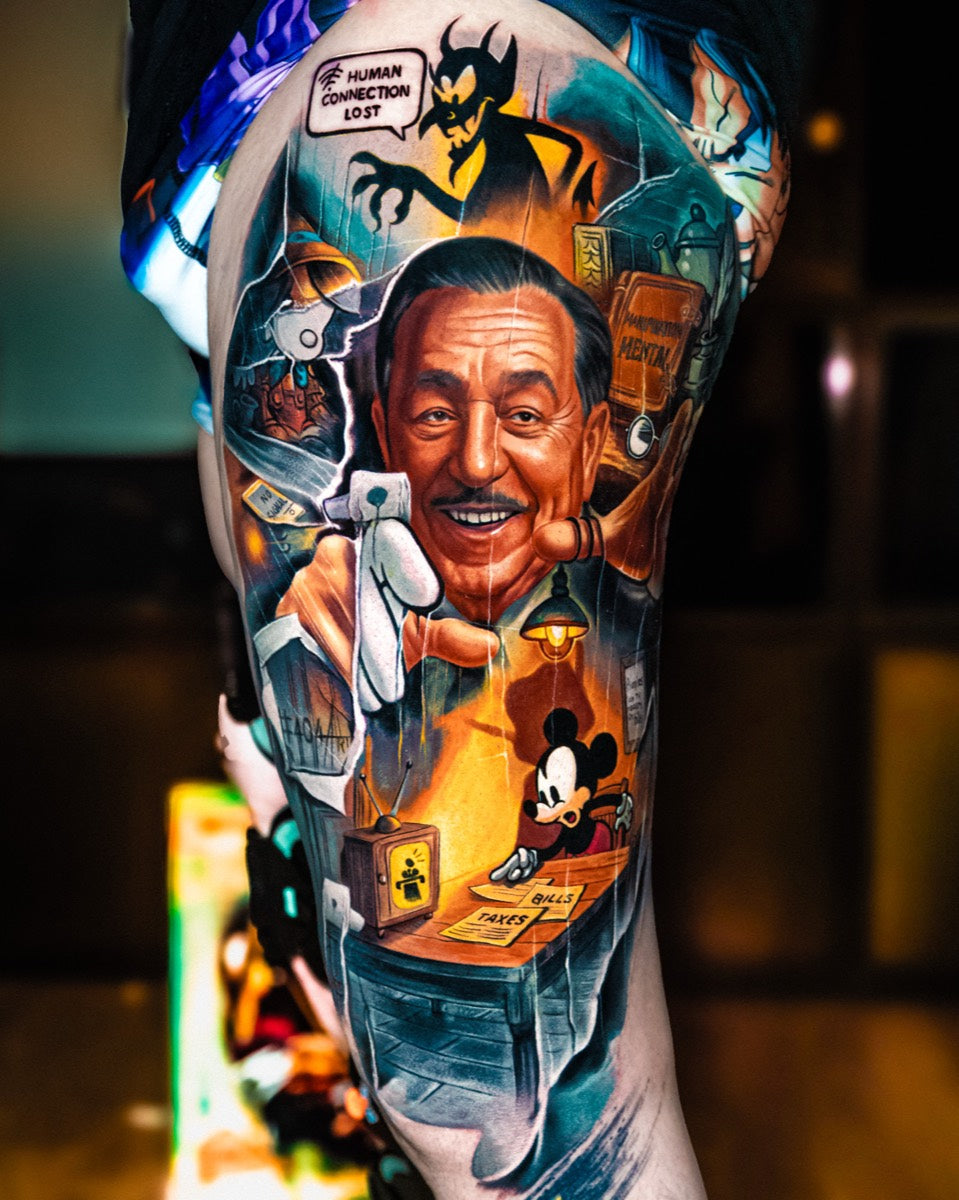
Charly has tattooed
Join them
Will you be next?
Hundreds of tattoo artists are already applying our methods to grow their careers.
Before you join
Who it's for. And who it's not.
This is for you if…
- You’ve been tattooing for 1–3 years and you want to make the jump to small, defined realism.
- You work well in diluted blacks but when you apply opaque greys you can’t get good results.
- You’re starting to master tattooing techniques and you want to grow your career down the realism path.
- You’ve watched YouTube tutorials and you keep making the same mistakes. You need the why, not more loose tricks.
Not for you if…
- You’ve never touched a machine. Start with the beginners’ seminar first.
- You’re not all that interested in realism.
- You expect to tattoo perfectly the moment you finish. This is method: you internalise it by practising and coming back to the lessons every time you forget a detail.
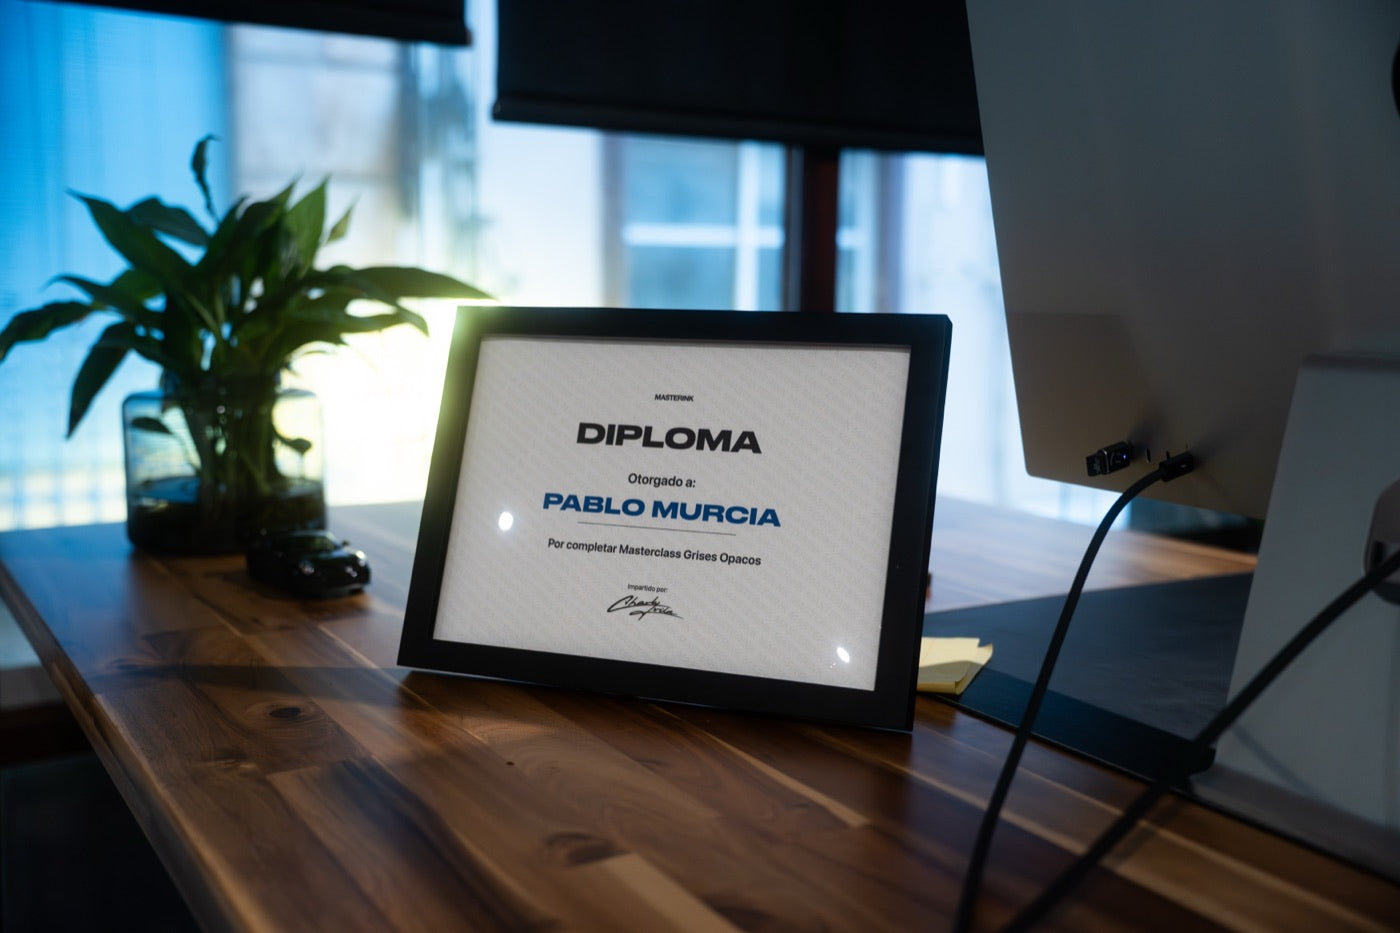
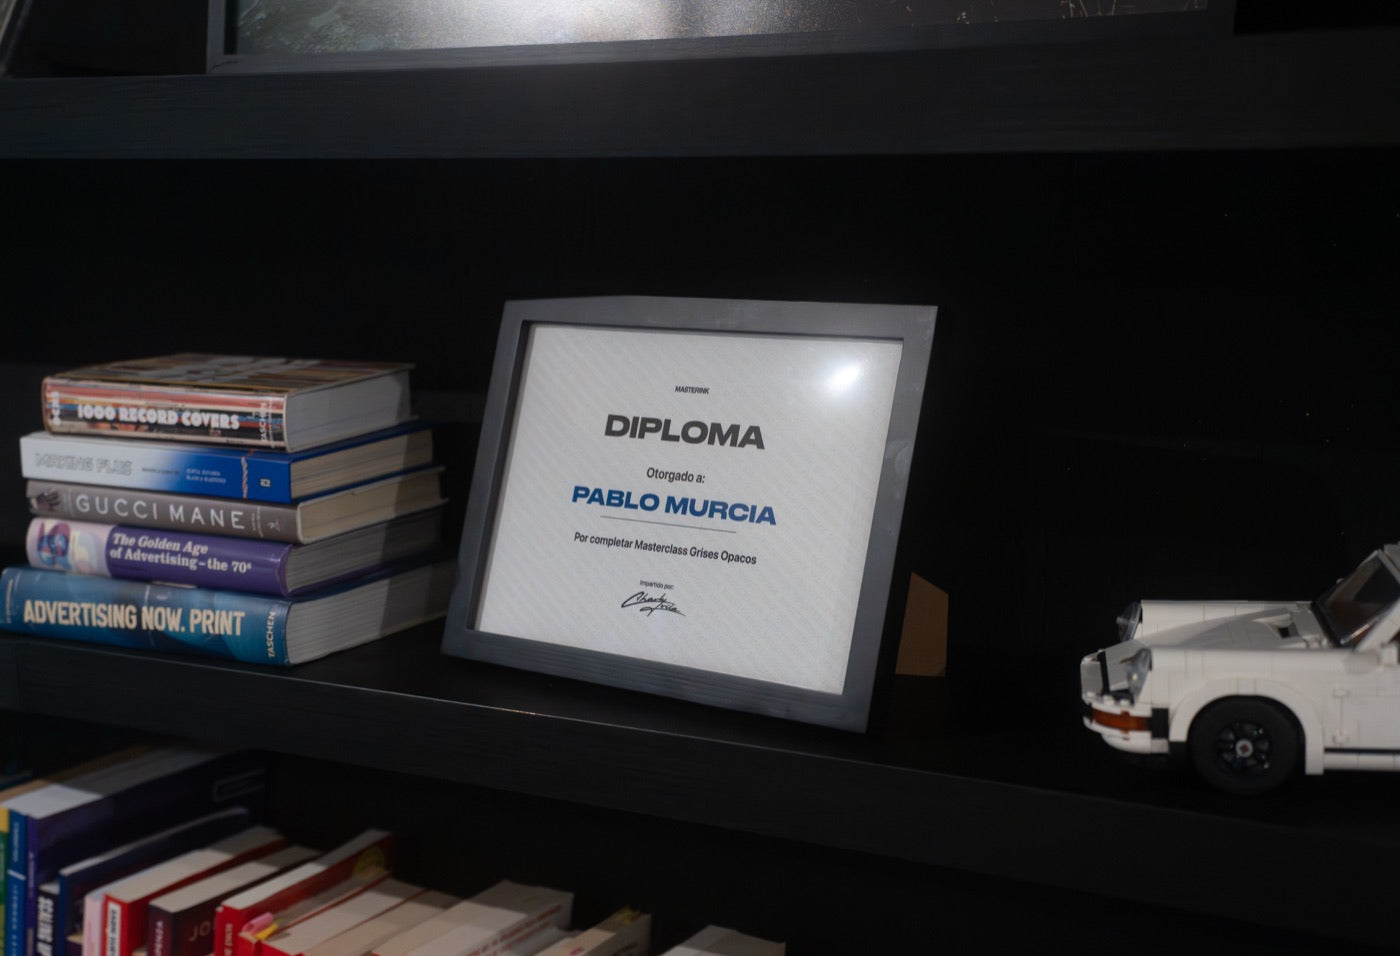
Diploma on completion
Finish the course and this is yours. Try typing your name.
When you complete 100% you unlock your digital diploma. Optional physical copy, available for now only in Europe.
Preview
- Digital diploma when you complete the course.
- Printed and framed physical copy (optional).
When you complete 100% you unlock your digital diploma. Optional physical copy, available for now only in Europe.
Digital version
Physical copy · optional
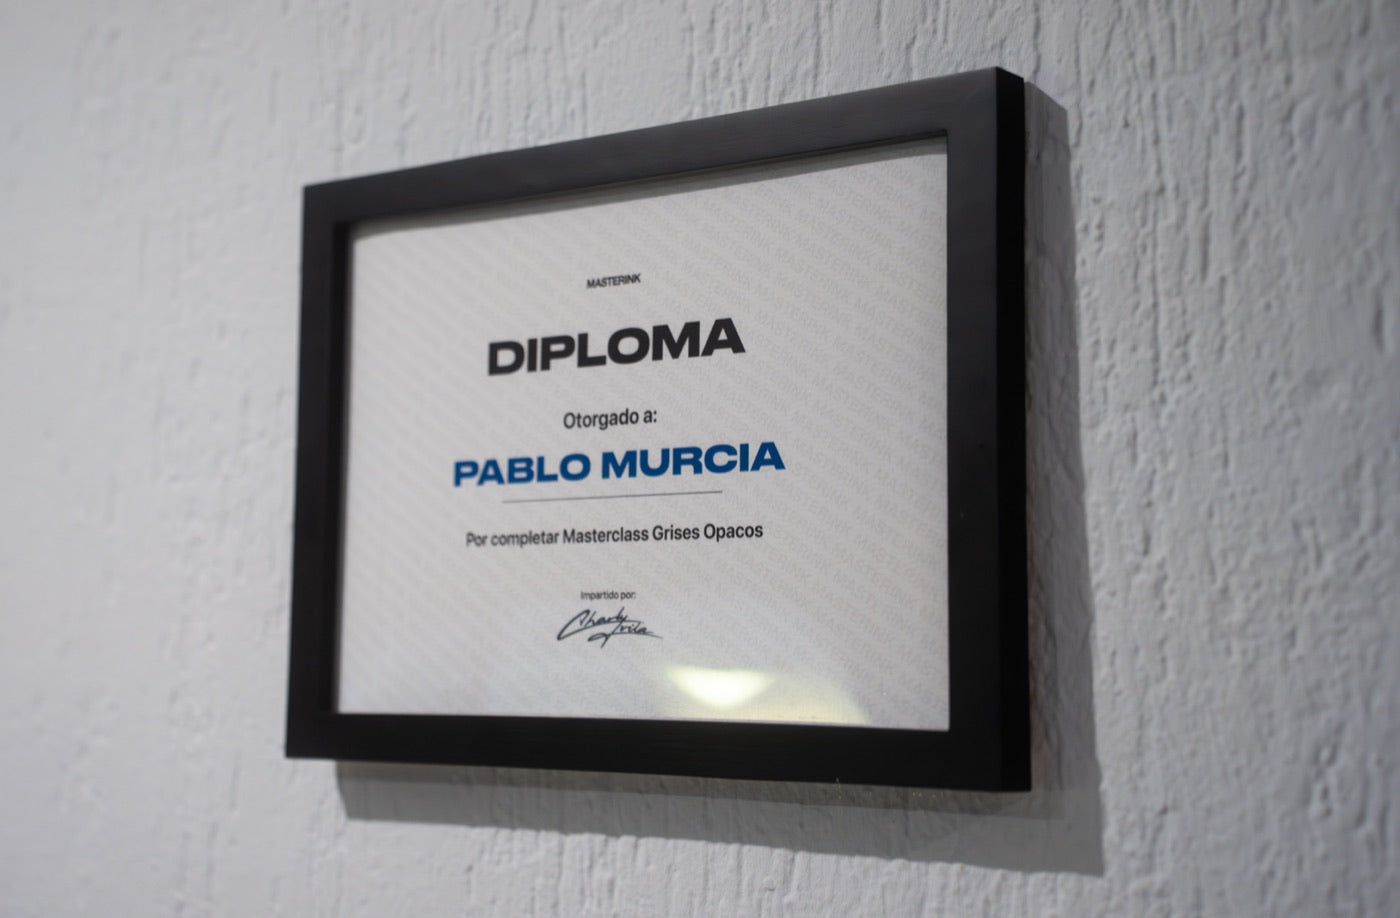 Ships to your door · EU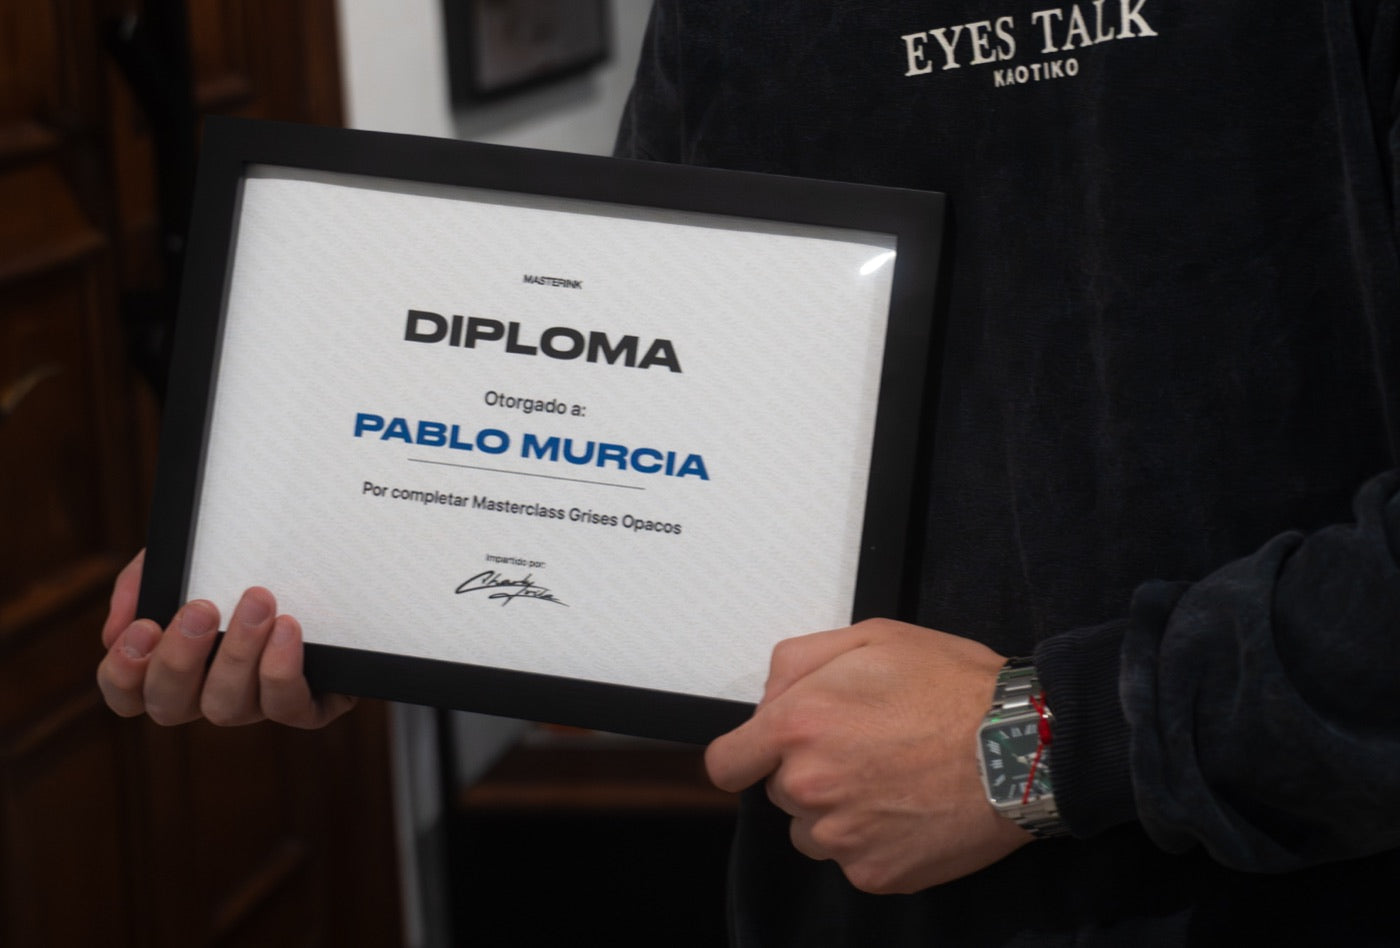
Offer
Your new technique

Opaque Greys Portrait Micro Realism - Masterclass
4.7 / 5
Included with purchase
- A full tattoo session
- Prep modules beforehand
- Downloadable files
- Comments in every lesson
- Multi-language audio
- Lifetime access
- Certificate of completion
- 30-day guarantee
100% secure payment30-day guarantee*
- Lifetime access · no renewals
- One-time payment · VAT included
- Subtitles in Spanish, English, Portuguese, Italian, French and German
- Web and mobile platform · downloads included
“A very well explained masterclass: the concepts and techniques are really easy to understand. I find it super complete and it covers the different parts of tattooing. Highly recommended.”
* Full refund within the first 30 days if you've watched less than 20% of the course content. Email team@masterink.art and we process the refund.
Common questions