
Masterink · Realistic portrait
How a realistic portrait
is thought, not drawn
There are zones that have to stand out — eyes, nose, mouth — and zones that stay back. That decision, repeated through the whole session, is what makes a portrait look real once it heals. Most tattoo artists break it without noticing.
By Charly Ávila — Masterink instructor
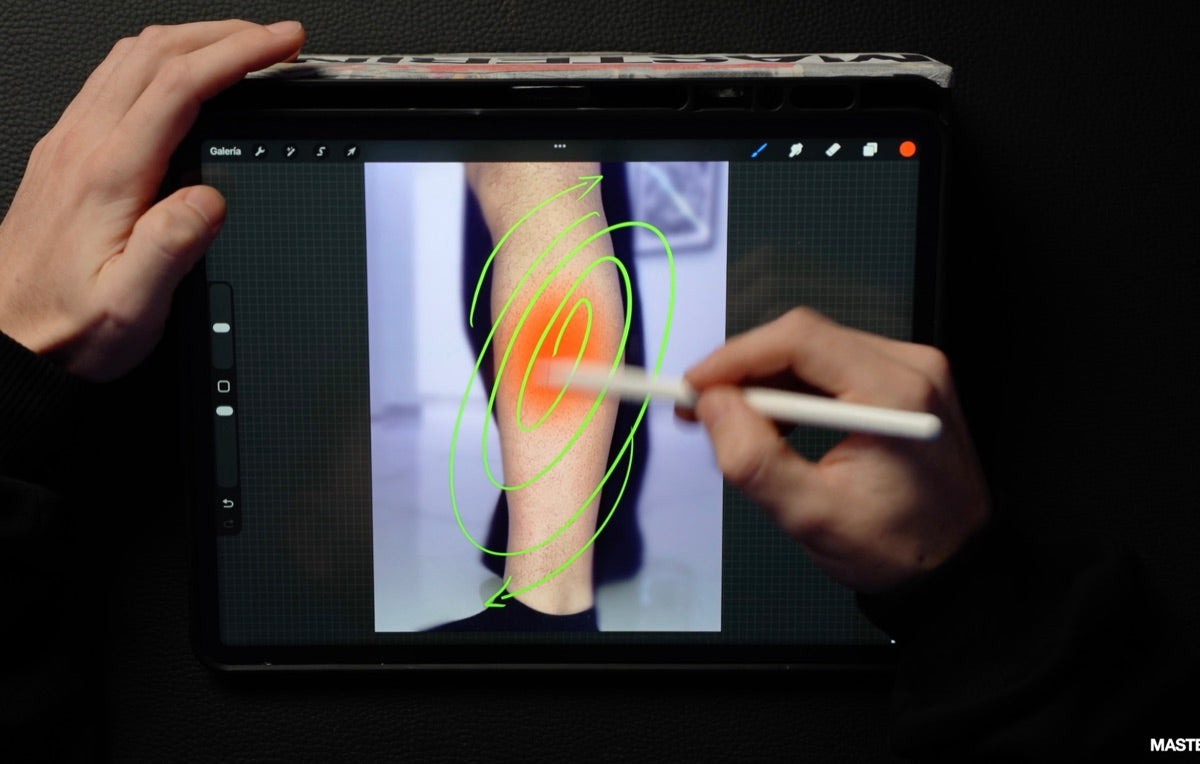
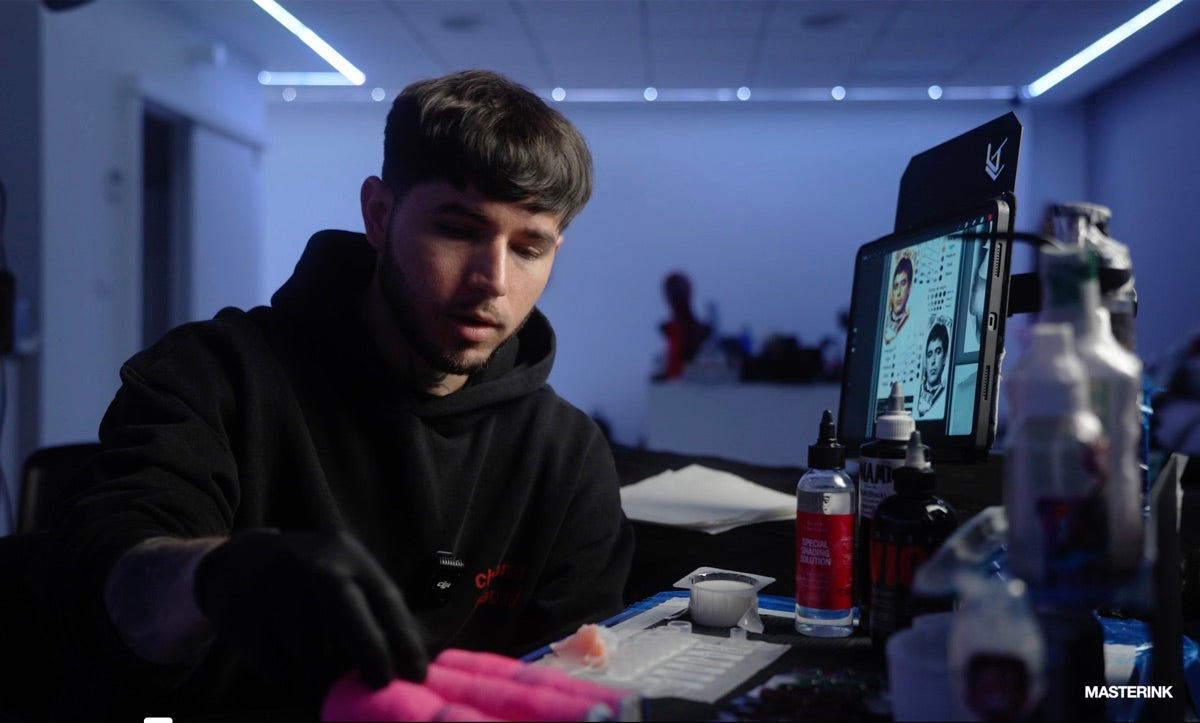
Realism is just a construction of what we see — but it isn't built in one go.
Sounds obvious. But most tattoo artists break that hierarchy without noticing: same level of detail on the face and on the decoration, same black on the eye and in the background. When everything stands out equally, nothing stands out. The piece comes out flat — and once it heals, that flatness gets worse: the small contrasts that separated one area from another disappear. Here are the five most common mistakes that break that hierarchy and stop the portrait from looking real.
Five mistakes
What breaks hierarchy without you noticing
No free tutorial puts these together. Each one feels like a small technical detail, but they all come from the same root: treating the portrait as a drawing to copy, instead of a construction to interpret.
 01
01You copy contrast instead of building it
Your portrait heals like a dark blob
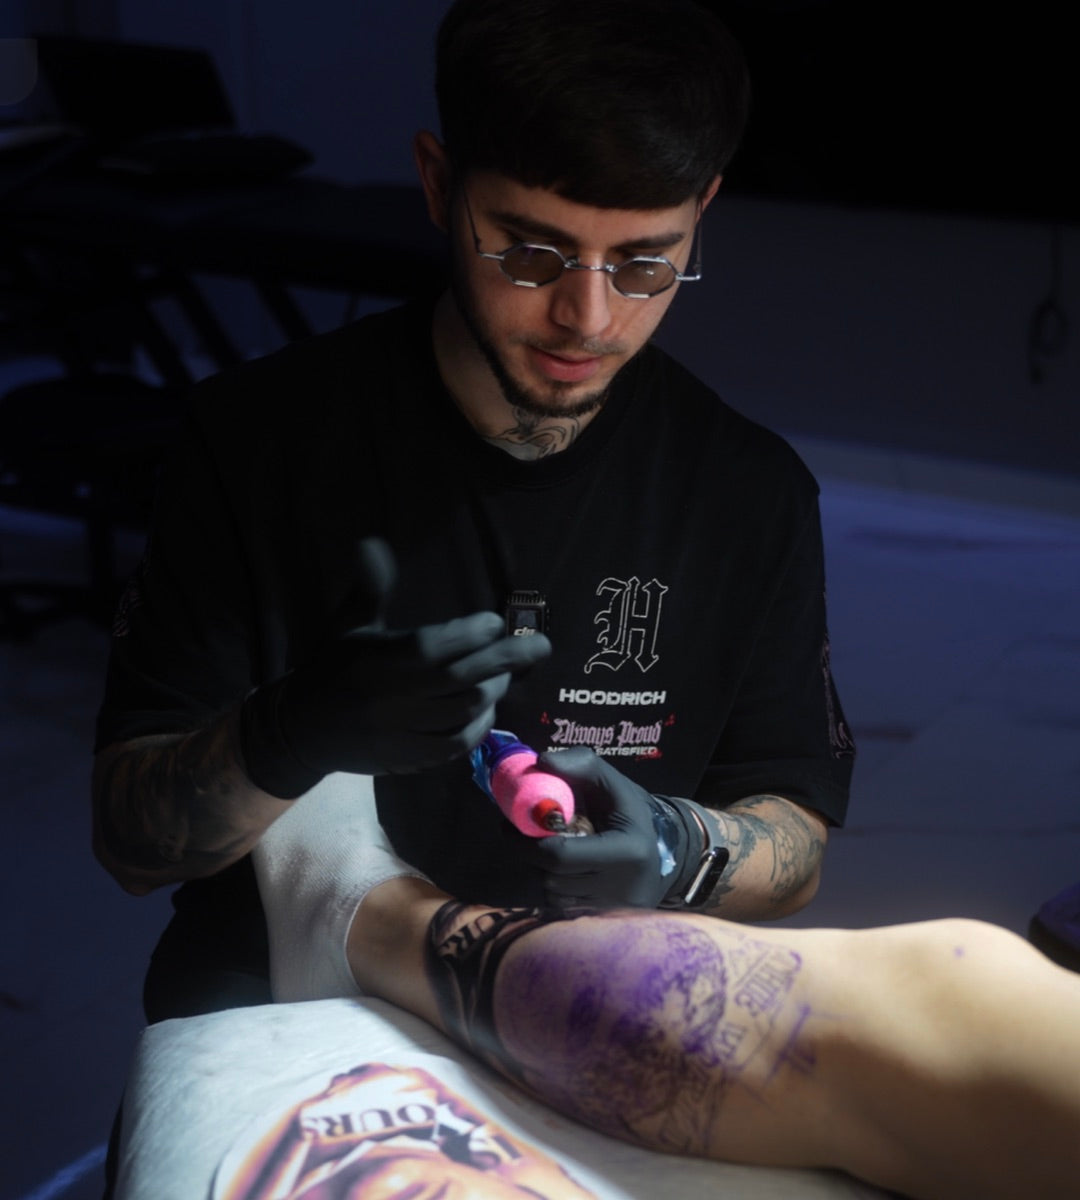
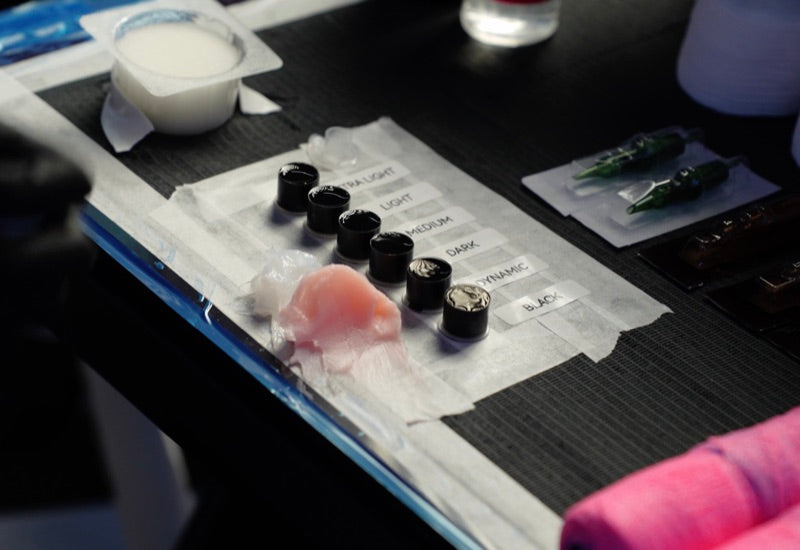
The black in a face isn't one black: it's five densities of the same black, controlled by drops. If you push it hard on the first pass, it looks dark on session day and flat once it heals. If you work in thin diluted layers, day one looks subtle — and once it heals, the volume is real.
I once did a Freddy Krueger portrait. I tried to copy the structure 100% and it ended up as a completely dark tattoo. Once healed, I barely noticed the difference between interpreting and seeing it that way. Copying is boring.
 02
02You outline the eyes instead of building them
The eyes look like stickers
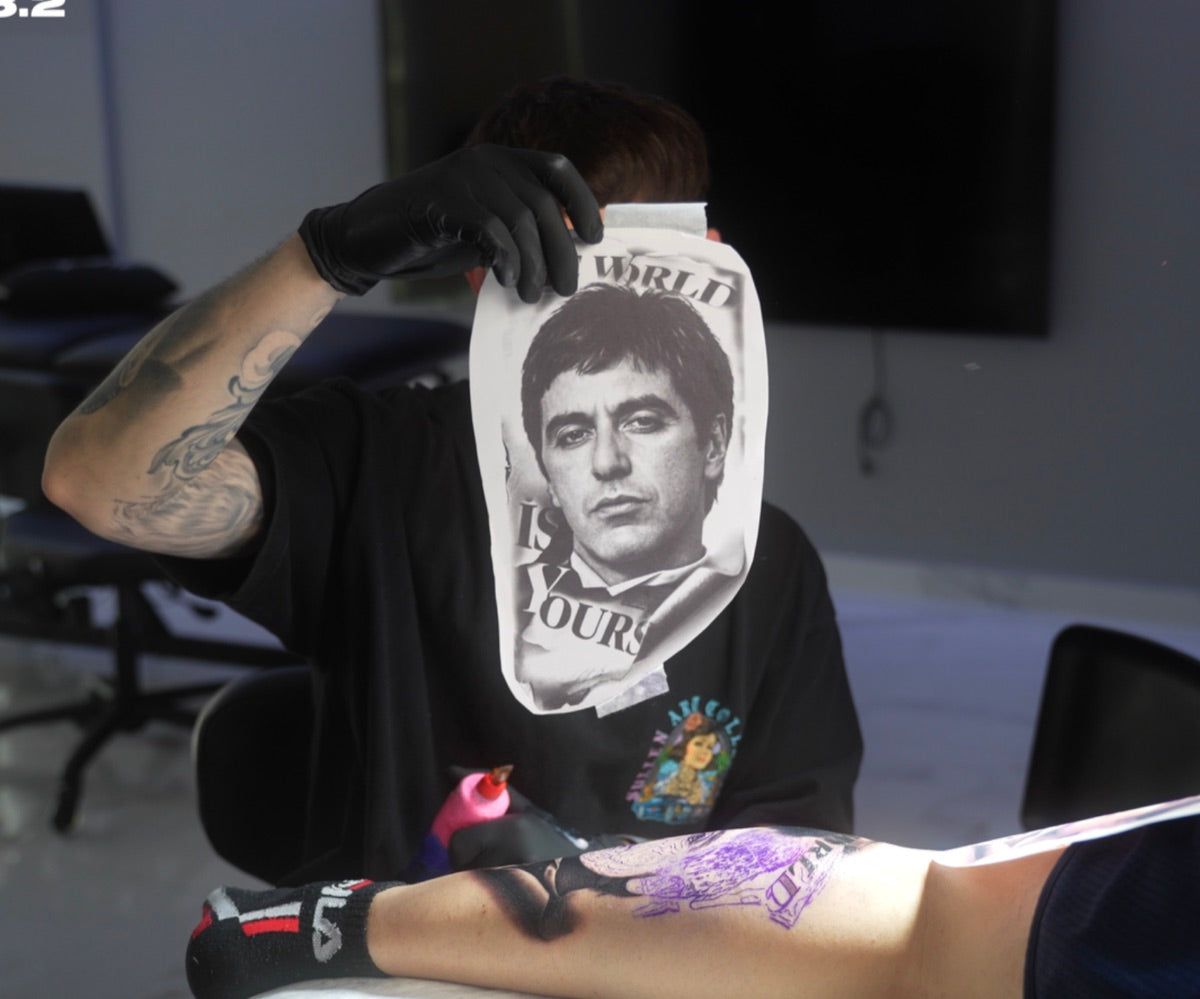
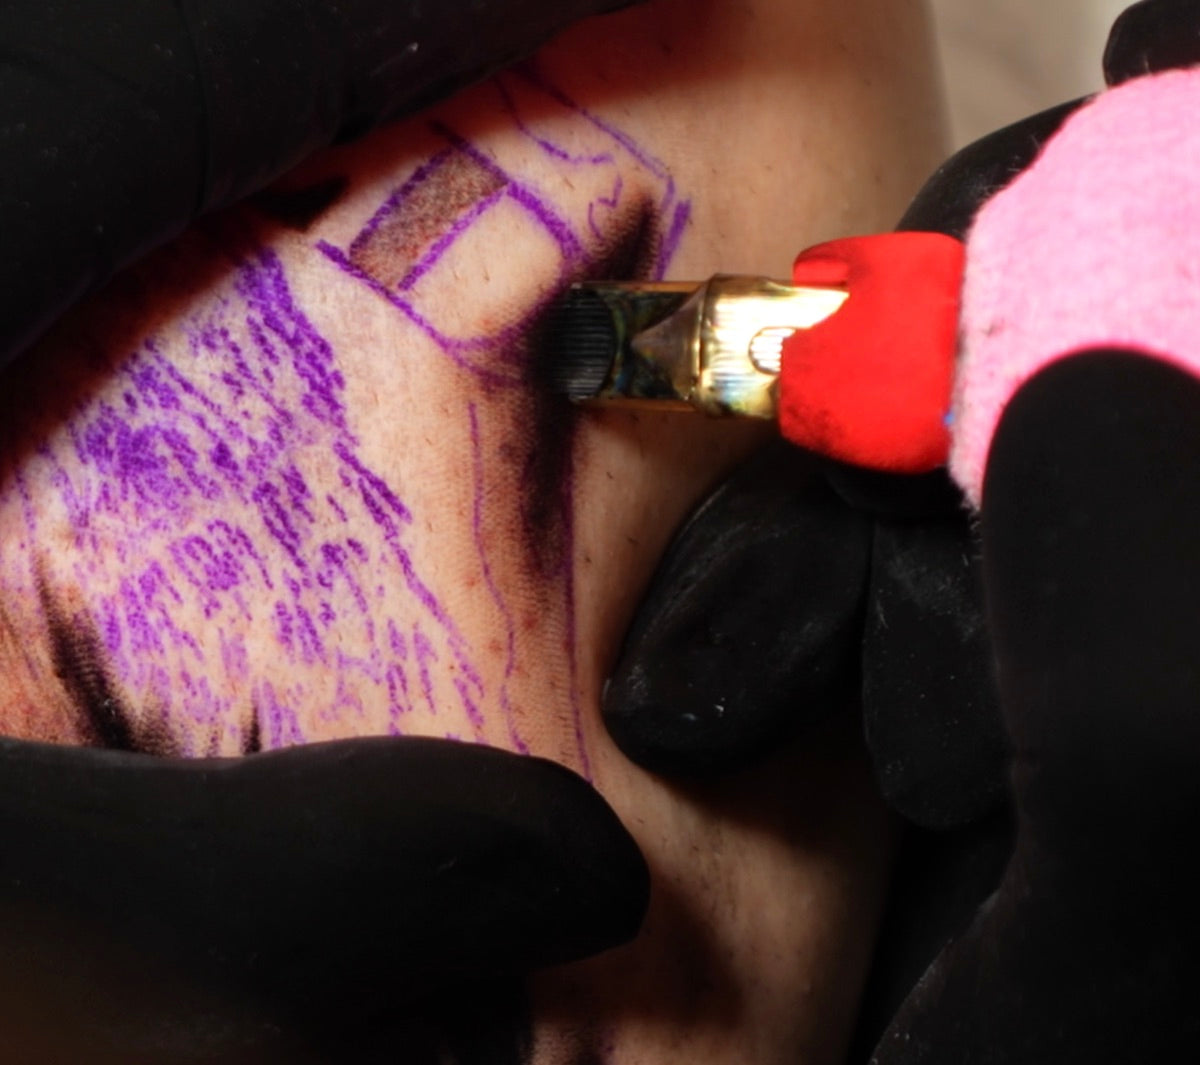
The eye isn't three lines. The lash isn't a line — it's a cluster of small marks that build direction. If you outline it, the eye loses depth and the whole portrait loses its soul. If you build it from small marks in order, the eye breathes.
Eyes are not outlined. The eye is not three lines and that's it. We build it consciously. There are no real lines — the lines are constructed, generating shapes from linear marks.
 03
03You add detail before structure
You lose the likeness in the face
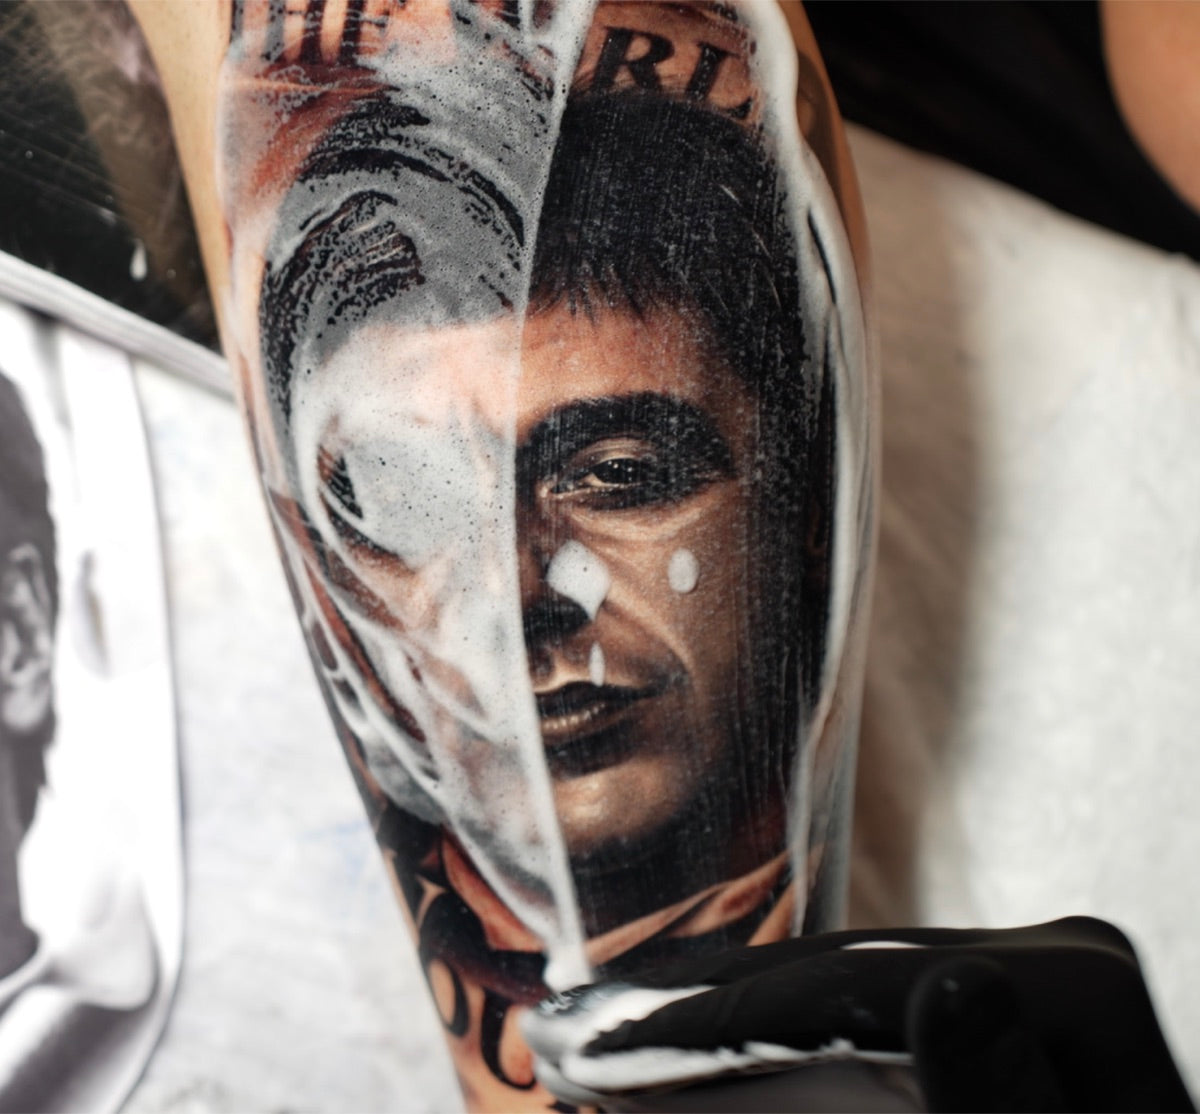
Likeness lives in the eye-nose-mouth triangle. It's built before adding detail, not after. If you go for the lash before placing the eye socket, nose and lip correctly, you've killed the likeness — and no later detail will bring it back.
Realism isn't about building from rigid structure. When it's done that way, all you get is an artificial-looking tattoo. The point is to interpret.
- See the session
Sound familiar?
Charly walks through every one of these steps over twelve hours.
 04
04You fill hair instead of building it
Your hair looks like doll hair
Straight hair doesn't exist — not even on animals with straight fur. The base is always darker than the tip. If you fill it parallel and flat, it looks like a painted wig. If you work in clusters with direction and a darker base, the hair has real weight.
There's no such thing as straight hair, not even on animals with straight fur. The base of the hair is always darker than the tip.
 05
05You put white where it doesn't belong
White muddies the piece and kills realism
Highlights aren't decoration. They're where the eye needs to land: focal triangle and nothing else. White in the background, under the chin, on the ear → the piece gets muddy and the eye doesn't know where to look. White only on eye, nose and mouth → the piece breathes.
If you overdo the white, the image loses realism. Highlights only go where the eye needs to land.
The concept behind all five
Margin is what separates artists who tattoo for the photo from those who tattoo for the healed result
All five mistakes share the same root: we burn the margin too early, and then there's no fixing it. Charly calls margin the room you give the skin to respond — how many passes you'll be able to add before breaking it.
The more margin you have, the more layers, more volume, better healing. That's why we work with large magnums and long tape, thin layers, voltages calibrated to the range of your own hand. Every technical decision is subordinated to not burning the margin — because if you do, no later detail will save the piece.
Margin is the room I give the piece to respond to me, in terms of how many passes I'm going to make. The more margin I have, the better the skin responds.
Who explains this
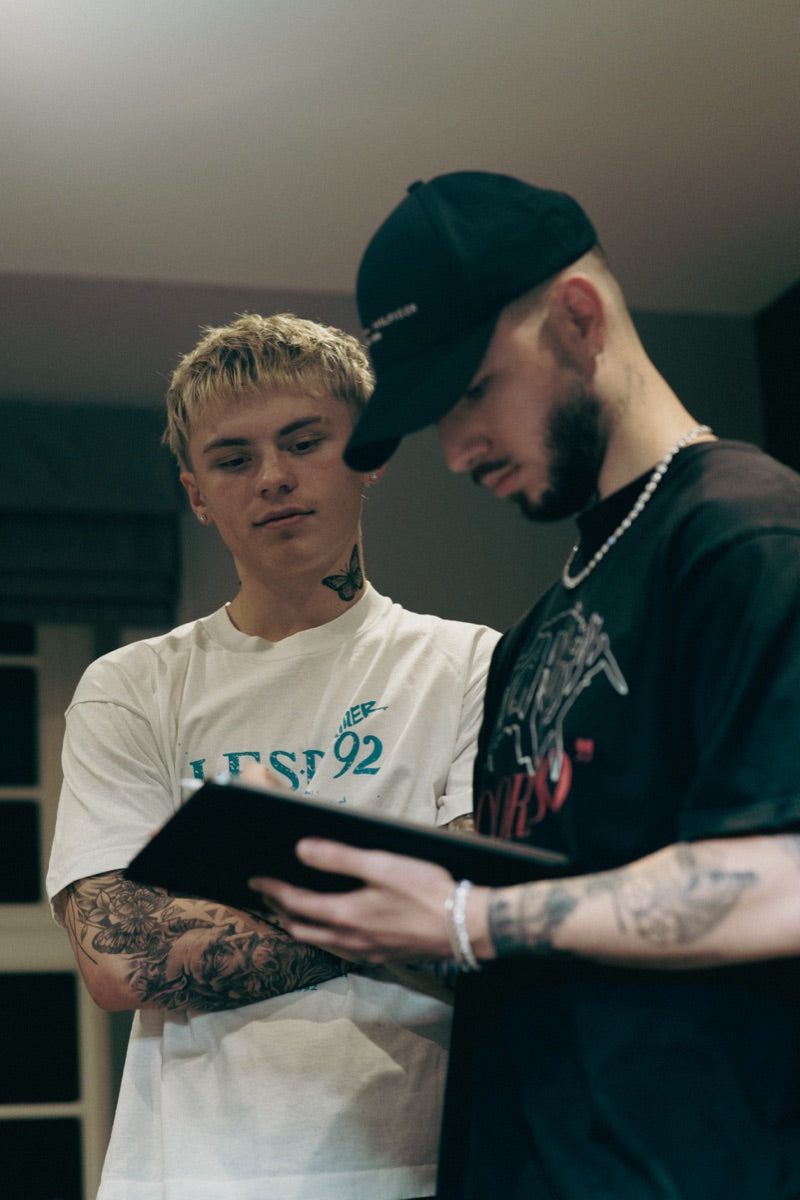
Charly Ávila
Charly has been tattooing portraits around the world for years. His clients include artists like Rels B, Lenny Tavárez, Otamenti and Mora. His philosophy isn't to tattoo for the day-of photo, it's to tattoo for a piece that lives thirty years on the client's skin. That's why he decided to film a full session, no cuts, narrating every decision as he makes it, so any tattoo artist with the minimum baseline can see how a real portrait gets thought through.
We tattoo for a good healed result, not for the photo.
If this resonates
Charly builds a full portrait this way, step by step, over twelve hours.
Twelve hours, no cuts
See you inside the masterclass
Real Tony Montana portrait session in diluted shading, from start to finish: anatomical analysis, needles, layers, shading, whites. Every decision explained as it happens. You don't need years of experience — you need someone who can actually explain it to you.